

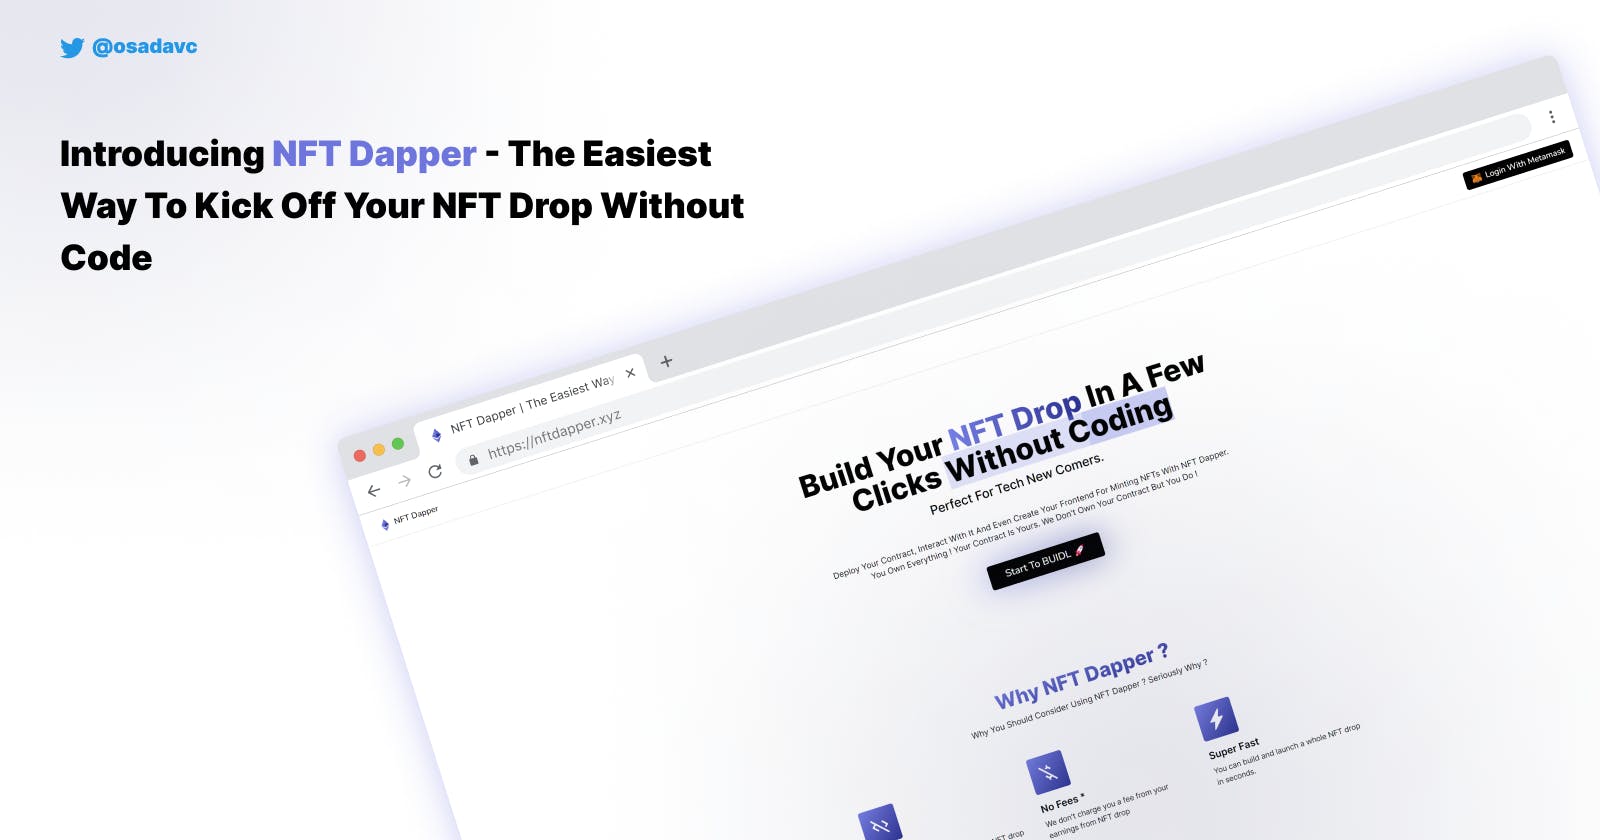
Introducing NFT Dapper - The Easiest Way To Kick Off Your NFT Drop Without Code ⚡
Take Your NFT Drop To The Moon With NO CODE


Table of contents
Introduction 🤩
Hey folks 👋🏻,
Here I am again with a project for the Linode X Hashnode hackathon. I got to know about this Hackathon immediately when it went live but I didn't have a solid idea at that time. I first looked at Linode API to see if I can do something cool with that but I didn't get an idea to do something with that. But after playing around for a little while I got the perfect idea. I thought to make a platform that people can utilize to launch their own NFT projects without using a single line of code. So, completely no code friendly.
Introducing NFT Dapper 🧑🏻💻
So, the main idea and concept behind NFT Dapper are allowing its users to create their own completely white-labelled NFT drop. So whoever is gonna mint an NFT from an NFT drop that is made with the use of NFT Dapper won't know that the NFT drop is made with a third-party tool. It is just like you made it yourself. And there are more exciting stuff, I will come to those in a bit.
Tech Stack ⚙️
- Next JS
- TailwindCSS
- PostgresSQL with Prisma
- Solidity
Next JS and TailwindCSS are pretty much my life defaults, so nothing more to talk about it. This time I tried to use PostgresSQL with Prisma instead of my usual MongoDB with Mongoose and it was pretty fine but I still think I kind of prefer MongoDB. And then of course Solidity for smart contract.
All of these are deployed on Linode 😉. (Psst... Linode was awesome, read why in the Role of Linode section).
Demo 🪧
Home Page
Now, I will take you through the whole application and show you how it really works.
First, when you go to NFT Dapper, you will see a simple, yet modern home page that looks like this.
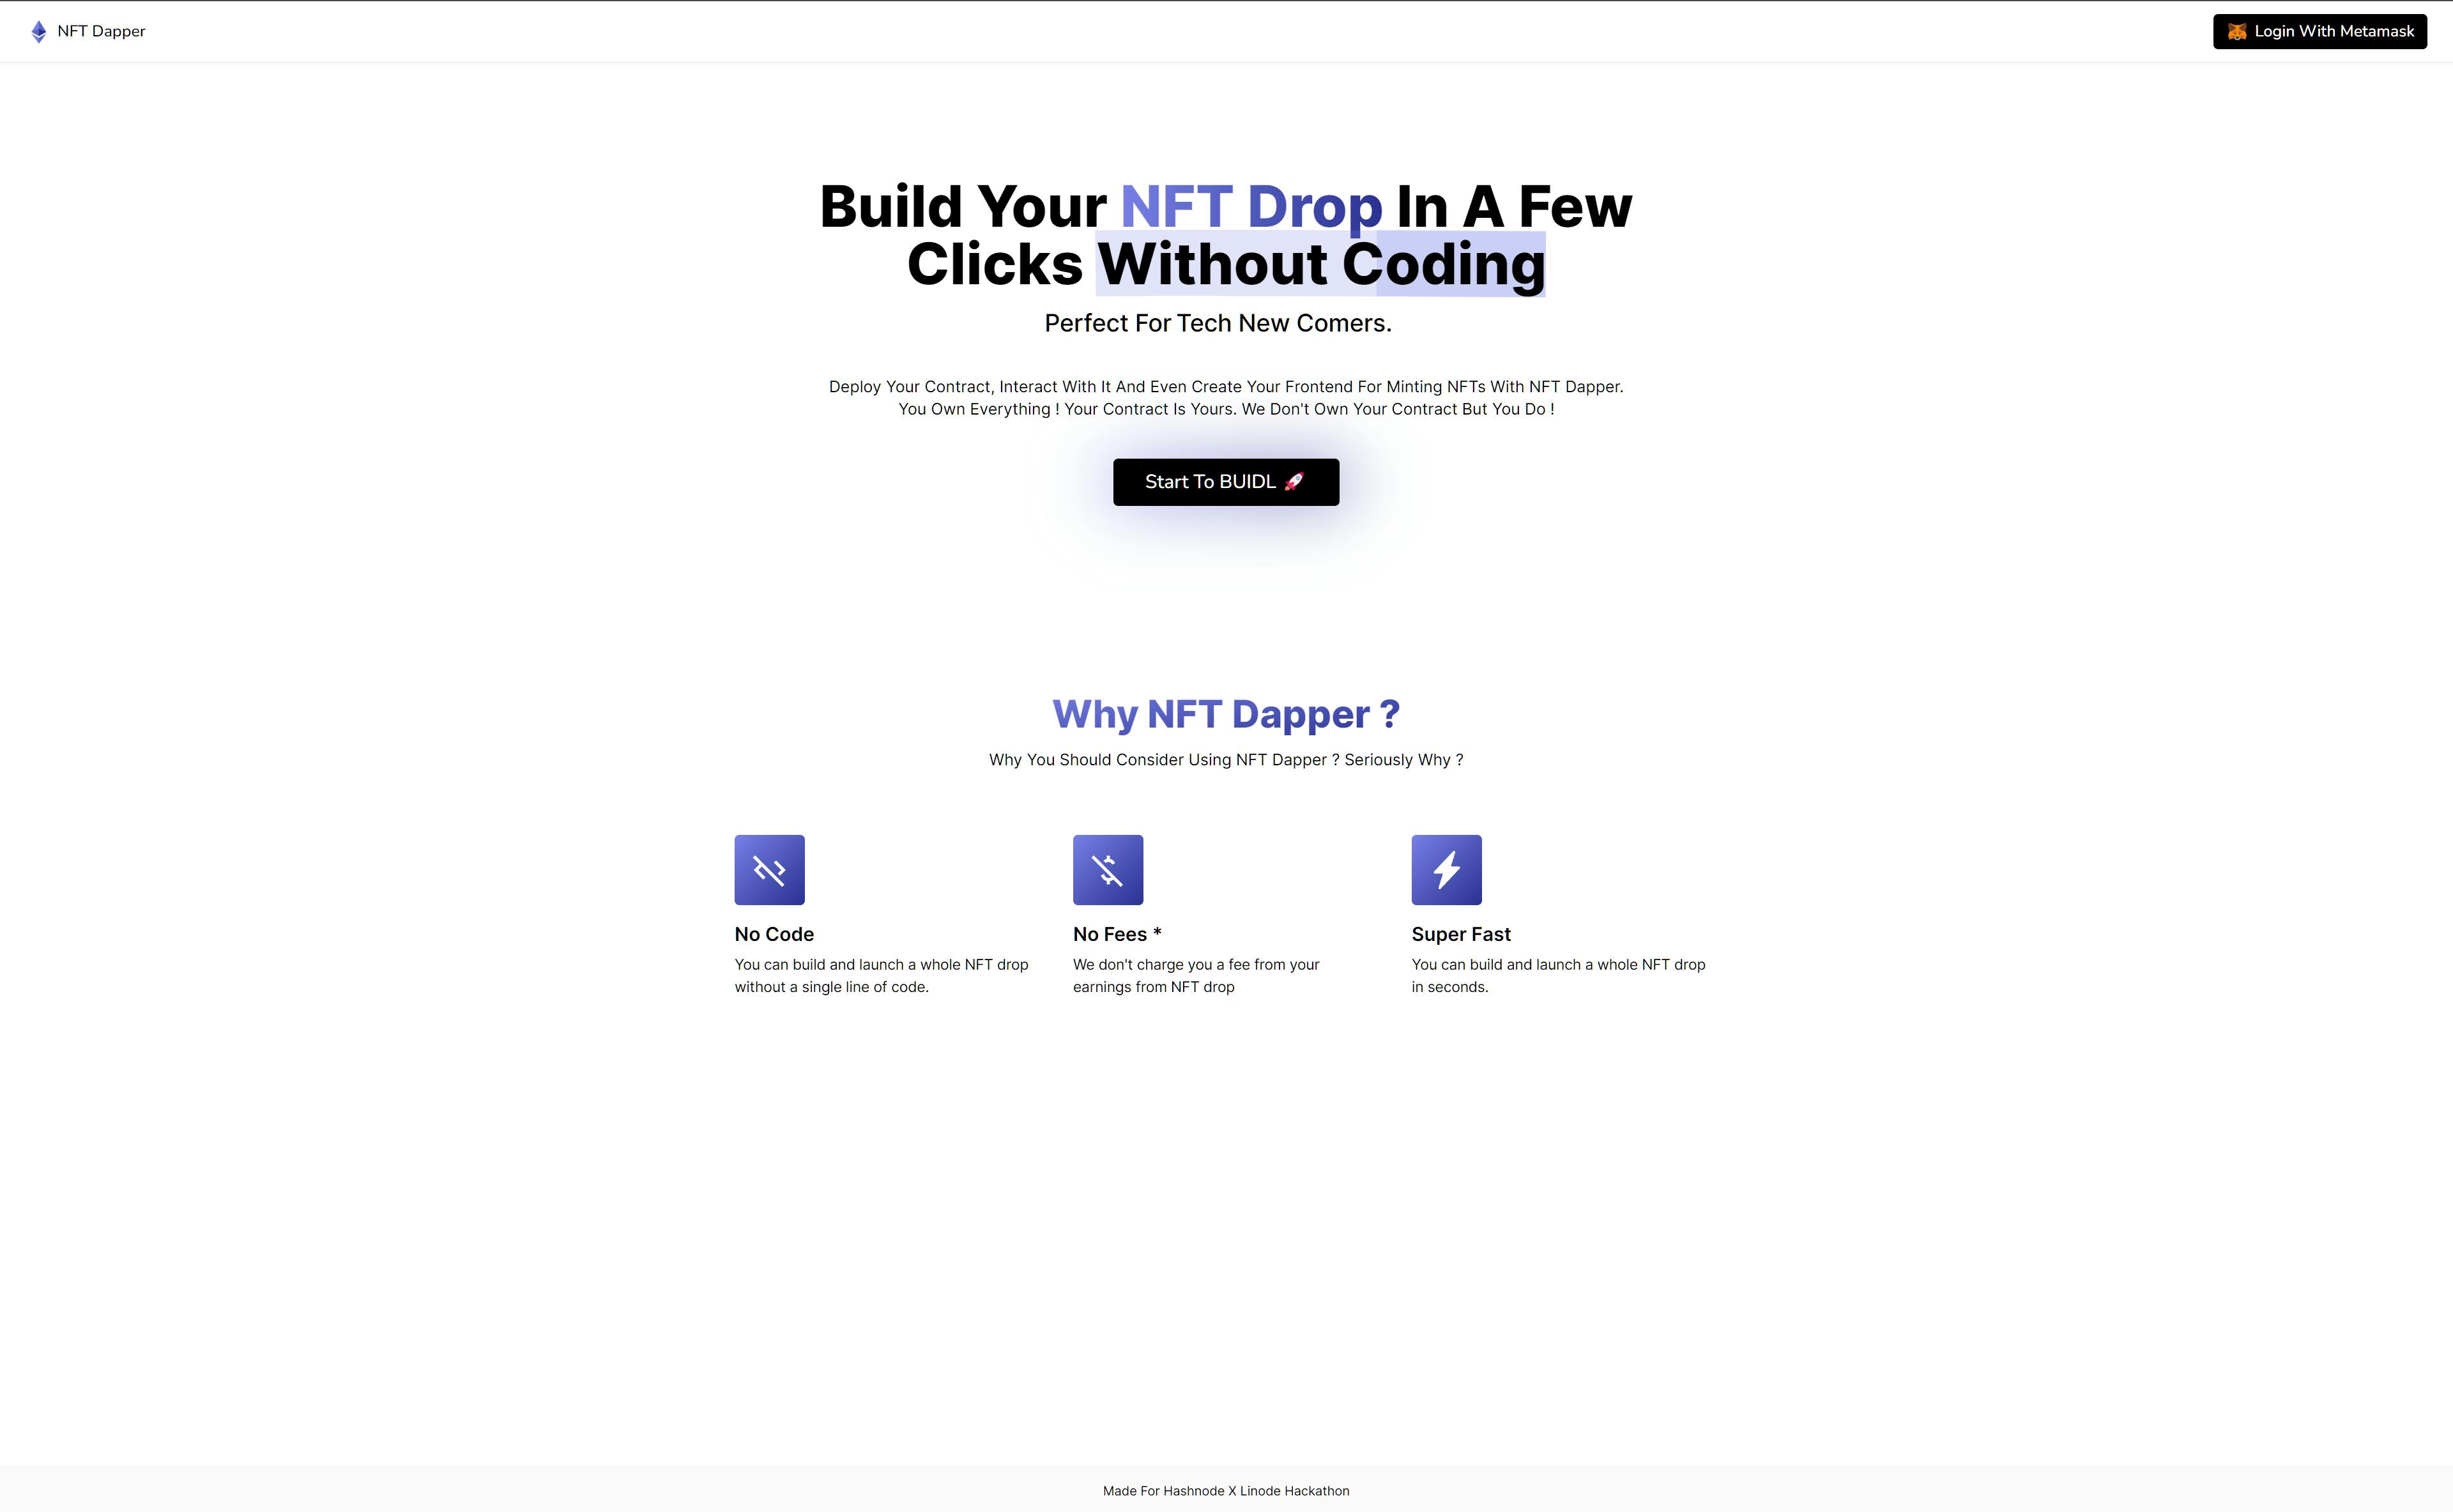
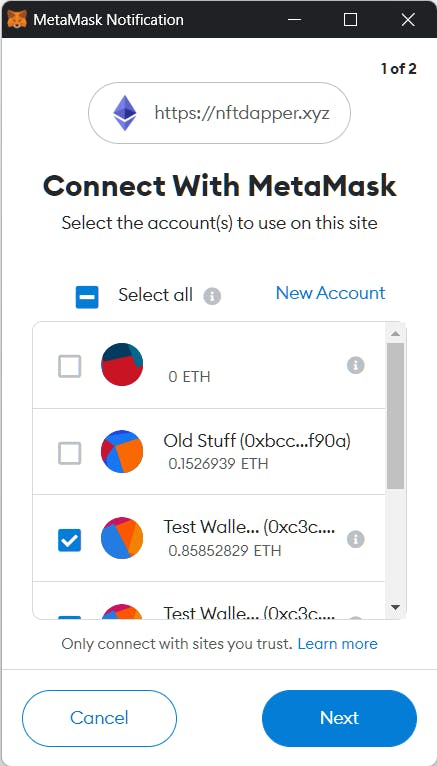
Here, I have listed some facts about NFT Dapper with a huge headline and a login button. You can click on Login With Metamask and make sure to choose the correct wallet if you have multiple wallets in your Metamask because this wallet will be later used to deploy our Smart Contract.
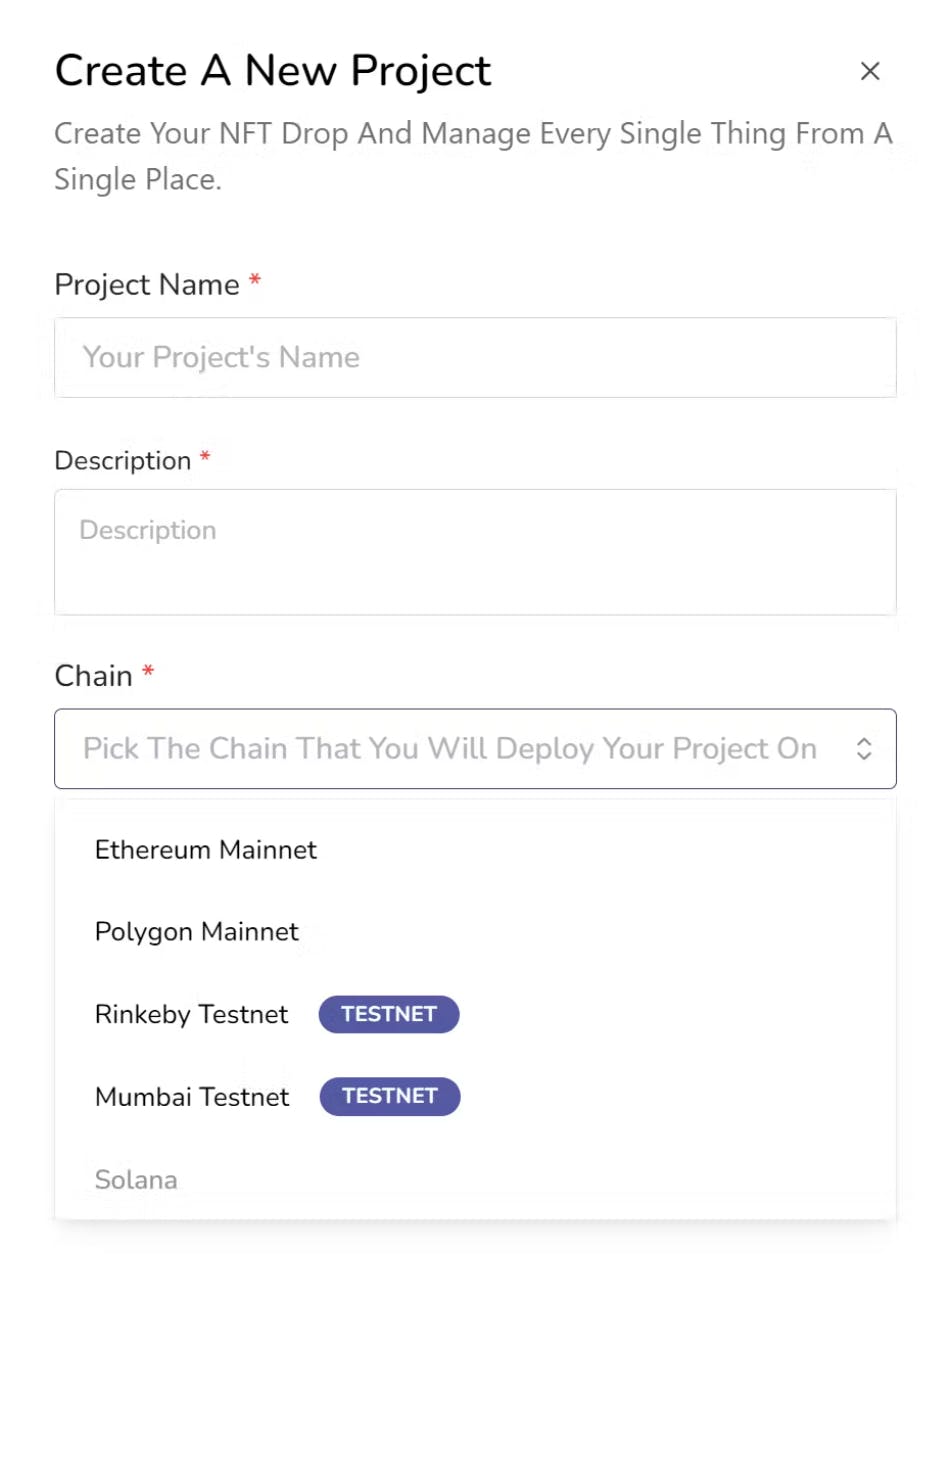
Once you're in, you can create a new project by clicking on the plus button. Put a name, and description and choose the chain that you're willing to deploy your project on. If this is your first time, I suggest going with a test network to test everything out.
Once you click on the Create Project button, you will see a new project is being created and it'll appear on your project list. Just click on that and if the project's chain and the chain that is connected to metamask doesn't match, it'll show you a popup saying to switch the chain, just click on that and switch the chain to the correct chain.

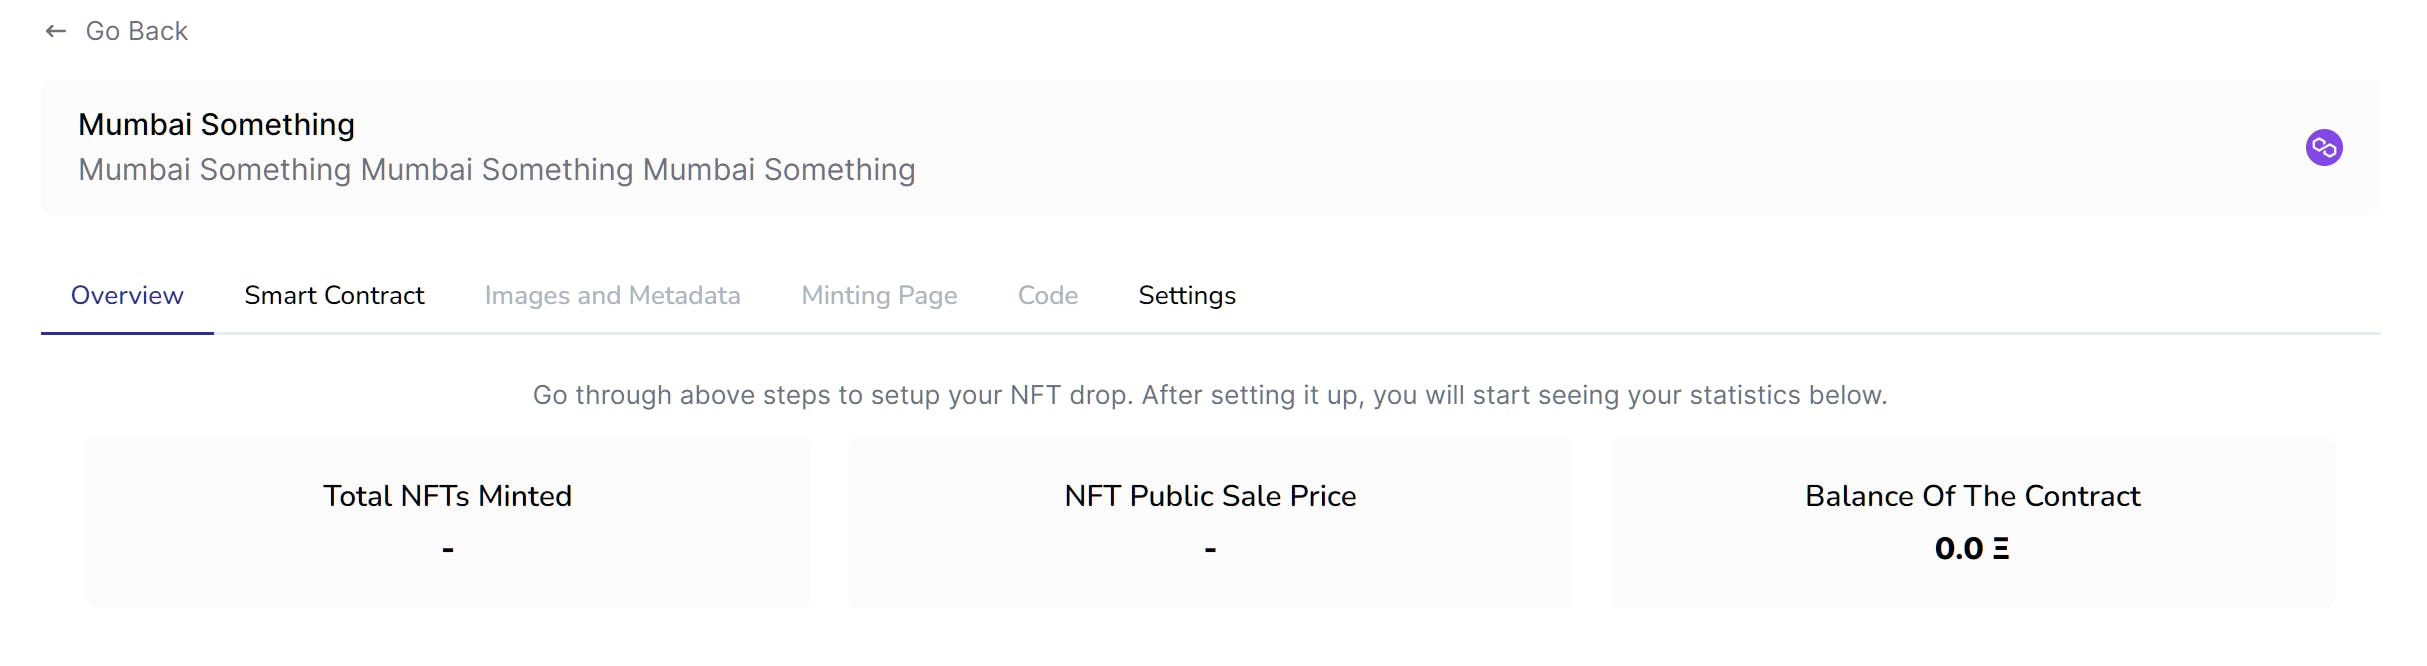
Project Dashboard
Now, you'll see a little dashboard with some information and some Tabs like this. You need to go through these tabs one by one and set up your NFT collection.
The Smart Contract Tab
When you go inside the smart contract tab, on the left side you'll see a bunch of options to choose from and on the right side, you can see some inputs that it requires to generate your contract on demand.
Remember, unlike every competitor for this platform, this generates a smart contract on demand based on the features you choose. If you didn't choose a certain feature, then that'll not be in the code of the actual smart contract.
Now, I will give you a little explanation of what all these features are and how to use them,
Pausable Smart Contract - With this option enabled, you can pause the smart contract at any time by clicking on the pause button that will be displayed on the dashboard. Pausing smart contracts will stop users from minting NFTs from the contract.
Set A Public Sale Starting Time - When you enable this option, you'll see a new input field has appeared on the right-side panel called
Public Sale Starting Time. You can choose any time that you want here and people won't be able to mint from your contract until that particular time.Allow To Mint Multiple NFTs - When this option is enabled, one wallet can mint up to whatever number of tokens you specify in the right-side panel. By default, a wallet only can mint a single token per transaction and unlimited tokens with as much as transactions as they need.
Charge A Mint Fee From Users - This option will allow you to charge a fee from minters, they will have to pay this amount to mint a single NFT in the minting process.
Apart from all of these options you have some inputs that should be filled.
Collection Name - This will be the name of your collection and the name of the smart contract.
Collection Symbol - Ethereum needs a collection symbol in-order to have an NFT on the blockchain, so you have to put a symbol there (eg: BAYC)
Total Supply - You need to put how many NFTs you need that particular collection to have.
once you have filled in all the necessary information, click the Deploy Contract button, wait for a few seconds to generate the smart contract on demand and then confirm the transaction on Metamask and wait for the transaction to complete. Once everything is done as expected, you will see a new view to control your contract, there you can change different properties on the smart contract like the public sale starting time, pause the contract and most importantly withdraw funds from your contract, for example, the funds that are collected by the mint.
Once you have completed the deploy step, you will see the Images and Metadata tab is enabled for you.
Images and Metadata Tab
Here is the place where you will set your images and metadata. I am not gonna go too deep into how to set up metadata and what structure should they be in. But brief instructions on how to set up the images and metadata are shown on the page itself. Once you have uploaded your images and metadata to IPFS, you've gotta put to Metadata IPFS Hash to the input shown. You do need to enter the IPFS Hash of your images because the images are linked to the metadata files.
Once you put an IPFS Hash, the application will check if it is correct, if it is correct, it'll show a preview of the 1st image on the left side panel. If it shows an error, try checking the box called Add .json suffix to each of the metadata files. If it still errors out, then there is something wrong with your IPFS location or your metadata is not accessible.
Once everything is done, you can click on the Save Metadata URL. It will take some seconds and you will have to confirm two different transactions.
After doing this, you will see that the Minting Page tab is now available to click on.
Minting Page
Wait, wait, this is too interesting to be discussed now, I will explain this after explaining the other two tabs.
Code Tab
If you want to build a custom landing page for your NFT drop and have some experience with frontend, you can use the information given here to use the contract from your front. For example, here you can find the contract address and ABI for the contract and some information about the functions that you need to be aware of.
Settings Tab
Nothing fancy here, just a general settings tab to change the name, and description. You can change the chain if you still haven't deployed your contract.
Minting Page (The COOL Part) 🦄
I personally think this is the most interesting part of this application and where Linode really shines compares to services like Vercel or Netlify.
First, you could open up the Mint Page and it asks whether you want to use a subdomain of the nftdapper.xyz or a custom domain. Yes, you read that right, you could add a custom domain to this, just like hashnode does. Pretty amazing, right? I mean if you were to do this on Vercel, you have to use their pro plan and the same applies to Netlify. But with Linode, I can literally do that for 5$ a month (Well, I used the 30$ a month plan but you get the idea)
If you choose the subdomain, then you could put a name basically, for example just mycollection and then, you're minting page will appear in mycollection.nftdapper.xyz. You can check the sample page here
If you choose a custom domain, then you can put your custom domain there and add a CNAME record called @ if you're not deploying on a subdomain of yourself and the subdomain if you're deploying on a subdomain that is owned by you pointing to the cname.nftdapper.xyz.
Well, you will see the instructions in real-time down there.

Once you've properly done that, you can click on the Configure Minting Page button. It might take up to 48 hours for the domain to be actively serving your page because of the delays in DNS propagation but as per my experience, it takes no longer than a few seconds if you're managing your DNS with Cloudflare.
Have to mention that this is possible because of the awesomeness in Caddy and I didn't find clear information about doing this, so in my GitHub repo, you can see the caddy configuration that I used. If you want to build a multi-tenant application just like this, then there you go. Also while going through some caddy forums and stuff, I found out that Hashnode also used the same method before migrating to Vercel. 🤯
That's pretty much it for the functionality of the whole application.
Video Demo 📽️
Role of Linode 🙃
Basically, every component of the application is hosted on Linode, including the Next JS application, database and everything you could think of. What I've noticed is it is so damn fast. Like really fast. Also because of Linode's generous 100$ free tier, I got a dedicated VPS and everything is running smoothly.
Also if it wasn't for linode, configuring a multi-tenant (allowing users to use subdomains and custom domains) application will be a bit difficult.
Linting & Code Quality 🧑🏻💻
Nothing much to say that differs from my other previous projects. Just used ESLint, Prettier and used Emojis for every commit to keep the commit list looking clean.
Struggles 😶
There weren't many struggles building this but I found myself stumbling upon setting up a multi-tenant environment with Caddy but finally solved it. If you're struggling to build something similar my Caddyfile is in the Github repo.
Future Plans🔮
I'd really like to make this a real SaaS if users like this and let me know your thoughts on that in the comments as well. Also, I am planning to add much more features like Whitelists, Delayed Reveals etc.
Important Links 🔗
Finally, as always thank you so much to Linode and Hashnode for hosting this hackathon, I indeed learnt a lot about Linux because this is my first time deploying an application on a cloud Linux server. Also, let me know if y'all have any suggestions or improvements that I could make.
UPDATE: Fixed the Metamask connect bug. COMMIT
UPDATE: Added more instructions on local development. COMMIT