Implementing Authentication with Passkeys using Authsignal and Next.JS
10001₂ year old curious human being building stuff
There are numerous ways to authenticate users, ranging from the basic username and password to advanced methods like JWT authentication, magic link, OTP, TOTP, security keys, and many more.
Passkeys have become the latest authentication trend. This new and convenient method eliminates the use of passwords or email codes for logging in. Passkeys allow users to access applications through their device's screen lock, such as fingerprint or face ID. Unlike passwords, passkeys are highly secure and protected from phishing attacks. They are also more secure than SMS OTPs, which can make users vulnerable to sim swapping.
Throughout this tutorial, you’re going to be learning about how you can implement passkeys authentication in your own app, with Authsignal which is an authentication as a service product which enables you to implement multi-factor passwordless authentication in the easiest ways possible.
Prerequisites
Having a basic knowledge of JavaScript and React is recommended to follow this tutorial more easily.
Configure Authsignal
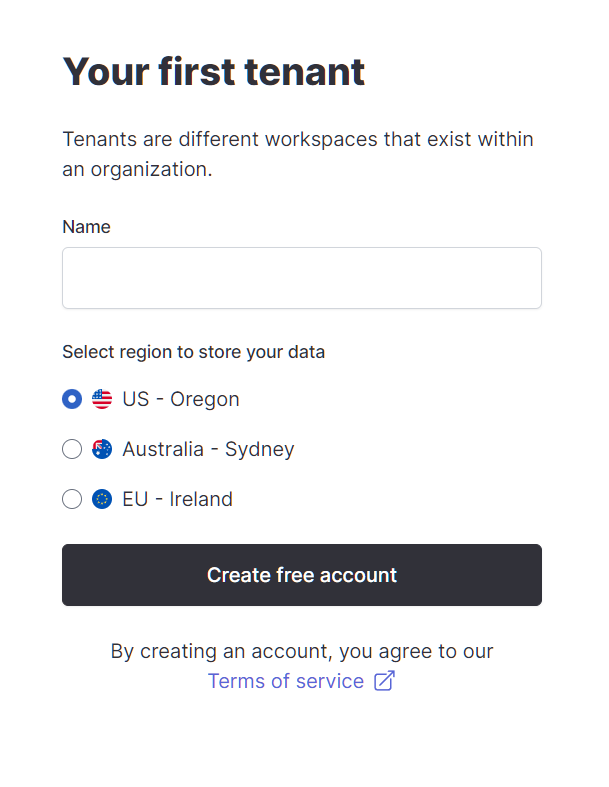
Before proceeding with the tutorial, you need to create an Authsignal project. For this, you can go to authsignal.com and click on Create Free Account. Then you can go through their simple procedure and get your organization configured.
In the last step, you will create your first tenant - a project inside your Authsignal organization. Choose any name for your tenant and select the data storage region.
Configure Authenticators
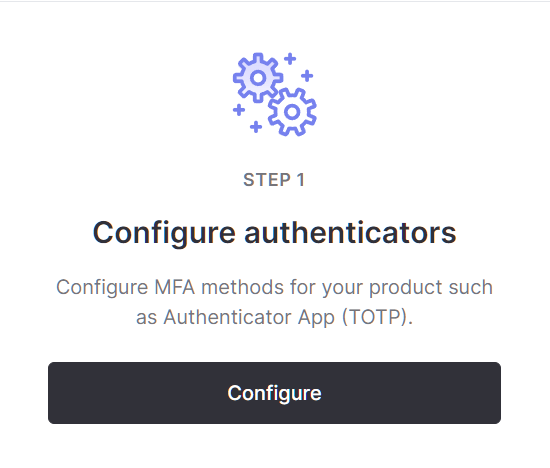
Now that you have your Authsignal account configured you need to configure the authenticators that you’re going to be using for your project. We are going to be using email magic links and passkeys as the authenticators in this project. To configure those, click on the configure button you can see on the dashboard page.
and then you would see all the authenticators that you can use.
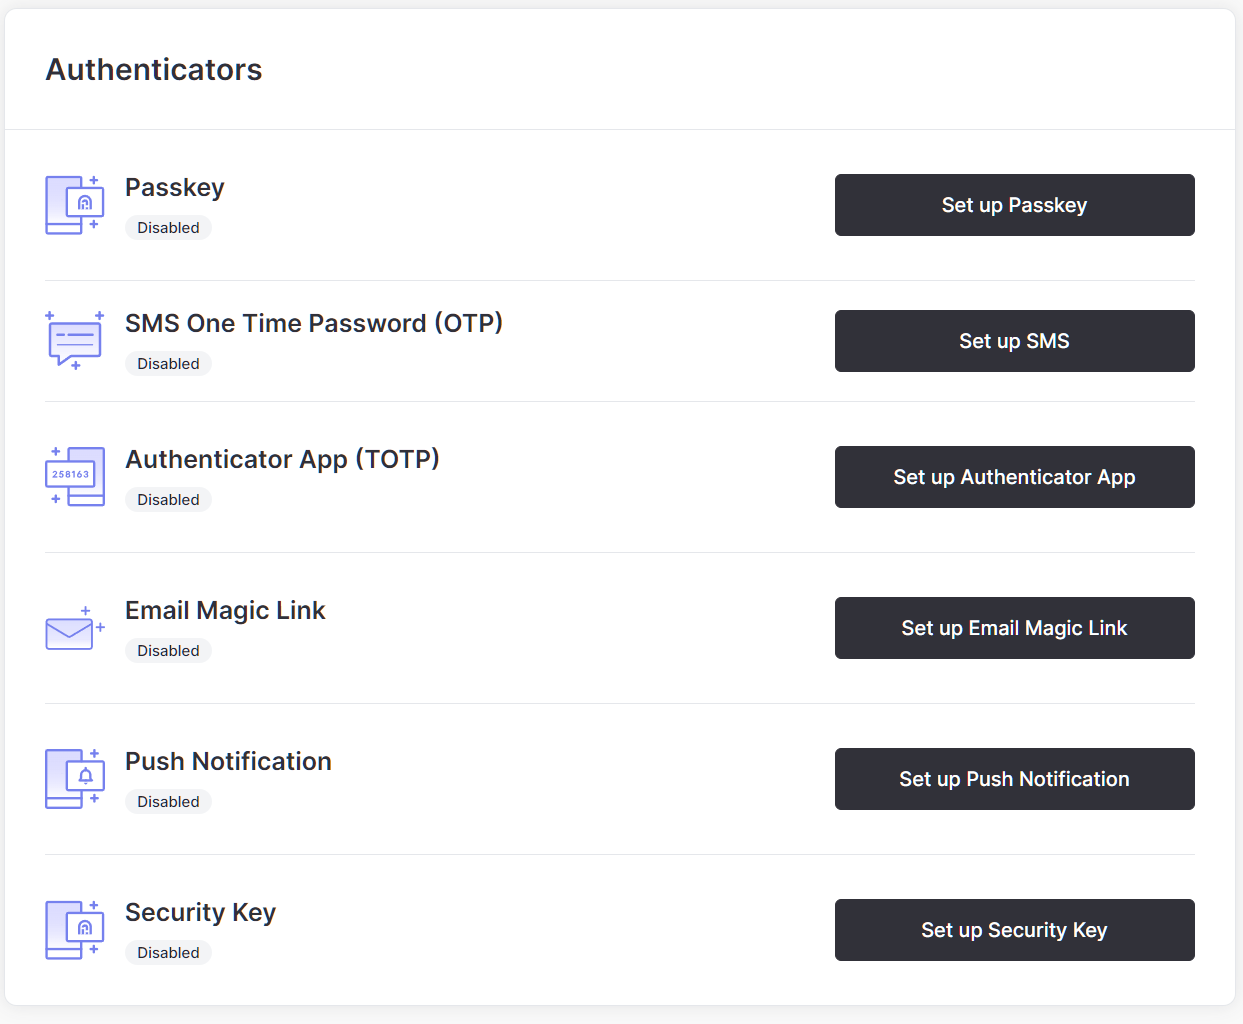
First, let’s configure the email magic link. To do that, click on the Set up Email Magic Link button and select Authsignal as the email provider. Now you have successfully configured email magic link as an authenticator.
Configuring passkeys has a pretty similar process, click on the Set up Passkey button. Since we’re just testing on localhost for the time being, make sure to set the Relying Party ID as localhost. (Make sure to change this when you’re moving your application to production)
Now you have successfully configured both the passkey and email magic link as authenticators.
API Keys
To connect Authsignal to your Next.JS application you would need the API key and some more information. You can obtain this information by clicking on the API Keys section in the left sidebar.

Take note of these because you’re going to need them in future steps.
Configuring the Next.JS Project
Now that we have completed the Authsignal setup, we can now proceed with the coding phase. We will be utilizing the Next.JS framework for our application development. Although React is an option, it requires a separate backend setup, making Next.JS a more practical choice.
Installing Next.JS
First, bootstrap a brand new Next.JS project by opening your CLI and running the following command.
npx create-next-app@latest
Then during the installation, you will see some prompts. I am going to use typescript and tailwind for this project but I am not going to use the Next.JS app router to keep this guide simple, also make sure to opt-in to creating a src folder to make following this tutorial easier.
Installing Required Dependencies
Now that you have the Next.JS project configured, let’s install the required dependencies. To do this cd into the folder that your project is in and run the following the command
npm i @authsignal/browser @authsignal/node axios cookie jwt-decode uuid && npm i -D @types/cookie @types/uuid
Two authsignal packages will be used to make communication with Authsignal servers easier, axios will be used to make HTTP requests to the backend from the frontend, uuid package will be used to generate a random identifier for new users, jwt-decode and cookie packages will be used to manage the user’s session inside the app.
Set up Magic Link Authentication with Authsignal
Before setting up authentication, you need to feed your API keys and other information into the project. In order to do this, create a .env.local file in the root of your project and add the following.
AUTHSIGNAL_SECRET=
NEXT_PUBLIC_AUTHSIGNAL_URL=
NEXT_PUBLIC_AUTHSIGNAL_TENANT_ID=
NEXT_PUBLIC_APP_URL=http://localhost:3000
You need to fill in this information with the details you obtain from your Authsignal dashboard and for the NEXT_PUBLIC_APP_URL you have to include the URL that your app is running on, so if you deploy your app, you need to replace this with the deployed URL.

If you're unfamiliar with email magic links, they're a method of authentication that involves entering your email address and receiving a link in your inbox. Once you click on that link, you'll be automatically logged in to the app.
Initializing Authsignal
To communicate with the Authsignal servers, you need to initialize two Authsignal clients. one for the front end and the other for the back end.
We’re going to make use of a custom react hook to initialize the front-end client. To do this, create a new file called useAuthsignalClient.ts inside the hooks folder inside the src folder and then paste the following code.
import { Authsignal } from "@authsignal/browser";
import { useEffect, useState } from "react";

const useAuthsignalClient = () => {
  const [client, setClient] = useState<Authsignal | null>(null);

  useEffect(() => {
    const authsignalClient = new Authsignal({
      tenantId: process.env.NEXT_PUBLIC_AUTHSIGNAL_TENANT_ID!,
      baseUrl: process.env.NEXT_PUBLIC_AUTHSIGNAL_API_BASE_URL!,
    });

    setClient(authsignalClient);
  }, []);

  return client;
};

export default useAuthsignalClient;
Here, we’re basically initializing a new object from the Authsignal class passing the tenantId and baserUrl to the constructor and we’re returning that from the hook so that we can use our authsignalClient without repeating this code snippet all over again.
Now to create our back-end client, create a file called authsignal.ts inside the lib folder and paste the following code snippet.
import { Authsignal } from "@authsignal/node";

const secret = process.env.AUTHSIGNAL_SECRET;

if (!secret) {
  throw new Error("AUTHSIGNAL_SECRET is undefined");
}

const apiBaseUrl = process.env.NEXT_PUBLIC_AUTHSIGNAL_API_BASE_URL;
const redirectUrl = `${process.env.NEXT_PUBLIC_APP_URL}/api/callback`;

export const authsignal = new Authsignal({ secret, apiBaseUrl, redirectUrl });
Here also we’re simply initializing an Authsignal object with the secret, apiBaseUrl and redirectUrl. Notice that the redirectUrl points to a backend function called callback, we will create that callback function in a moment.
Sign Up Backend Function
Authsignal SDK is designed in a way so that before doing anything in the front end, you first need to track that action through the backend. You can read more about this in the Authsignal’s documentation.
To do this, first, you have to set up an API route. In order to set up an API route, create a new file named email.ts inside the pages/api directory.
Then inside that email.ts file, paste this code.
import { authsignal } from "@/lib/authsignal";
import { NextApiHandler } from "next";
import { v4 } from "uuid";

const handler: NextApiHandler = async (req, res) => {
  const { url } = await authsignal.track({
    action: "signUp",
    userId: v4(),
  });

  res.status(200).json({
    url,
  });
};

export default handler;
Let’s go through the above code now,
First, we import the authsignal object that we exported earlier from the
libfolder.Then we’re going to track an action named
signUppassing a random uuid that we can obtain with theu4function in the uuid library as theuserIdFinally, we’re sending the URL we get back from the Authsignal servers to the front end.
Homepage Frontend
Now we have the backend ready, let’s move on to the front end and hook our API route with a UI.
In the pages folder, you will see a file named index.tsx, which is where you write your front-end logic in Next.JS. Open that file and remove all the content in that file (Also open the styles/globals.css file and remove everything after the 3rd line to get similar styles)
First, let’s code a simple interface that looks something like this.

Paste the following code in the index.tsx file. This should get a basic interface like the above screenshot up and running.
const HomePage = () => {
  return (
    <div className="p-5 font-inter flex flex-col justify-center items-center">
      <h2 className="text-center text-3xl font-bold">
        Next JS + AuthSignal Passkeys Demo
      </h2>

      <div className="border rounded-lg flex flex-col mt-16 w-fit p-16 min-w-[750px]">
        <button className="border px-6 py-3 mt-2">
          Sign Up / Sign In
        </button>

        <p className="text-center my-5">or</p>

        <button>Sign in with an existing passkey</button>
      </div>
    </div>
  );
};

export default HomePage;
To make everything work, we need to import some libraries. Add these imports at the top of your file.
import { useEffect, useState } from "react";
import axios from "axios";
import { useRouter } from "next/router";
import useAuthsignalClient from "@/hooks/useAuthsignalClient";
Then inside the HomePage function, we’re first going to initialize all of these hooks. Add the following lines right at the beginning of the HomePage function.
const router = useRouter();
const authSignal = useAuthsignalClient();
Here we’re initializing the Next.JS router, this will be later used in order to redirect the user to the dashboard page after a successful login and then we initialize the hook that we made earlier to communicate with Authsignal from the frontend.
Now let’s create the signUp function to allow users to sign up for our application. To do this include the following snippet of code below where you initialized the hooks.
const signUp = async () => {
  const { data } = await axios.get("/api/email");
  window.location.href = data.url;
};
Here what we basically do is redirect the user to the Authsignal hosted sign-up page in order to complete the signup process.
Before we can test this out, we have to take care of several other things.
Callback Function
First of all, we need to take care of the callback function. This is where the user comes after they get authenticated from authsignal. We have already specified our redirect URL as /api/callback. Create a new file, name it callback inside the api folder, and paste the following code.
import { serialize } from "cookie";
import jwtDecode from "jwt-decode";
import { NextApiHandler } from "next";
import { authsignal } from "../../lib/authsignal";

const handler: NextApiHandler = async (req, res) => {
  const token = req.query.token as string;

  const decodedToken = jwtDecode<any>(token);

  const { state } = await authsignal.validateChallenge({ token });

  if (state === "CHALLENGE_SUCCEEDED") {
    const cookie = serialize("auth-session", token, {
      expires: new Date(decodedToken.exp * 1000),
      secure: process.env.NODE_ENV === "production",
      path: "/",
    });

    res.setHeader("Set-Cookie", cookie);
  }

  res.redirect("/dashboard");
};

export default handler;
You can find this code snippet in the example repository of Authsignal. What this basically does is take the returning auth token from authsignal and validate if that token is properly authenticated and if that token is properly authenticated, set a cookie named auth-session with that auth token and redirect the user to /dashboard page.
Authsignal Rules
Now since we have configured both the email and passkey providers inside of Authsignal, when you click on the sign up button, both the providers will be displayed but we don’t want that. We specifically want only the email provider to be displayed.
To do this, go to your Authsignal dashboard, choose the right project if you haven’t already, and then click on the actions menu from the top bar. Click on the new action button and create a new action with the name signUp.
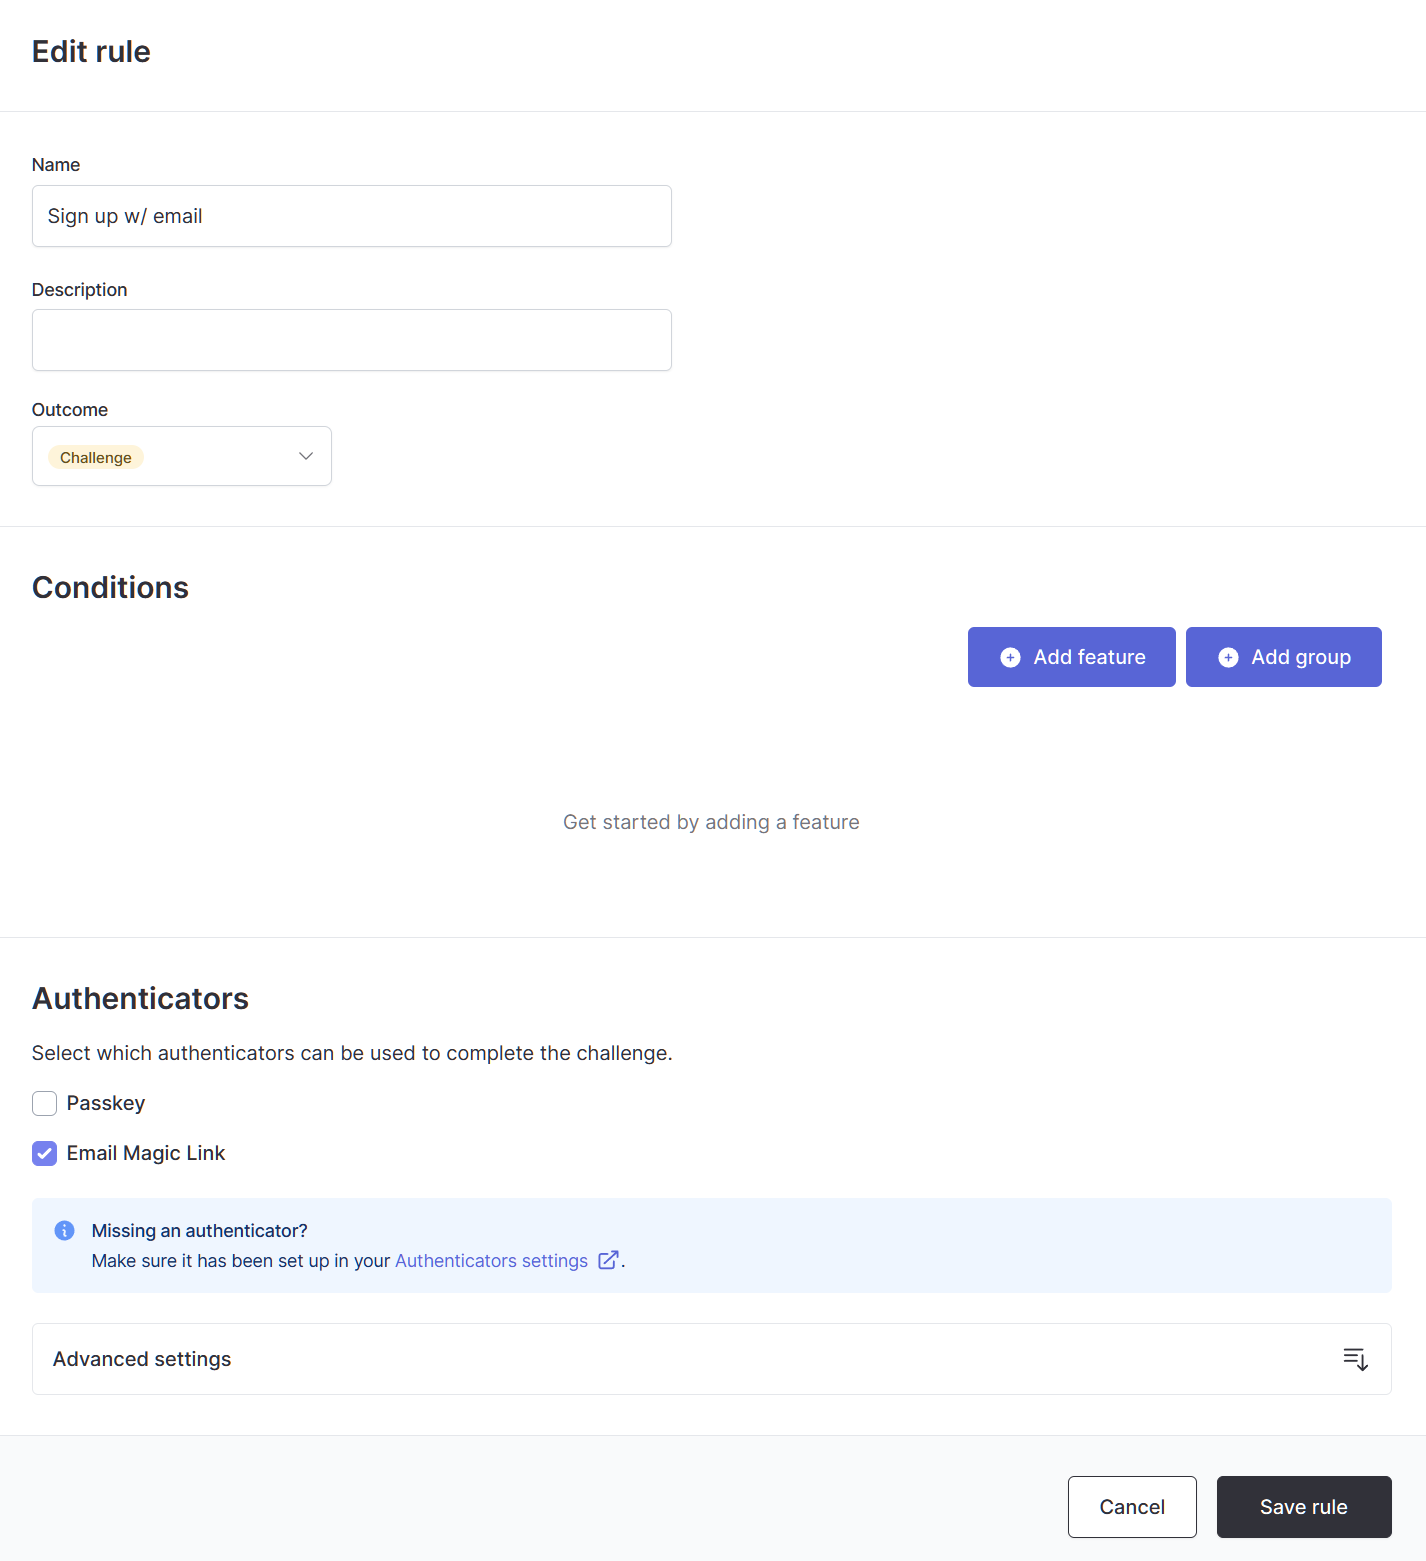
Then go to the rules menu in the sidebar and click on create rule. Then you can give any name to the rule, choose challenge from the outcome menu, untick passkey and then save the rule.
Now you should be good to go ahead and test it. Click on the Sign-Up button and after following the on-screen instructions of entering the email and clicking on the link that you receive to the email, you should be redirected to /dashboard. Because we haven’t yet created a dashboard page, you will be redirected to a 404 page if everything goes well.
Dashboard Page
Now that we successfully get redirected to the dashboard page, let’s code a simple UI to display our email and a logout button that looks something like this
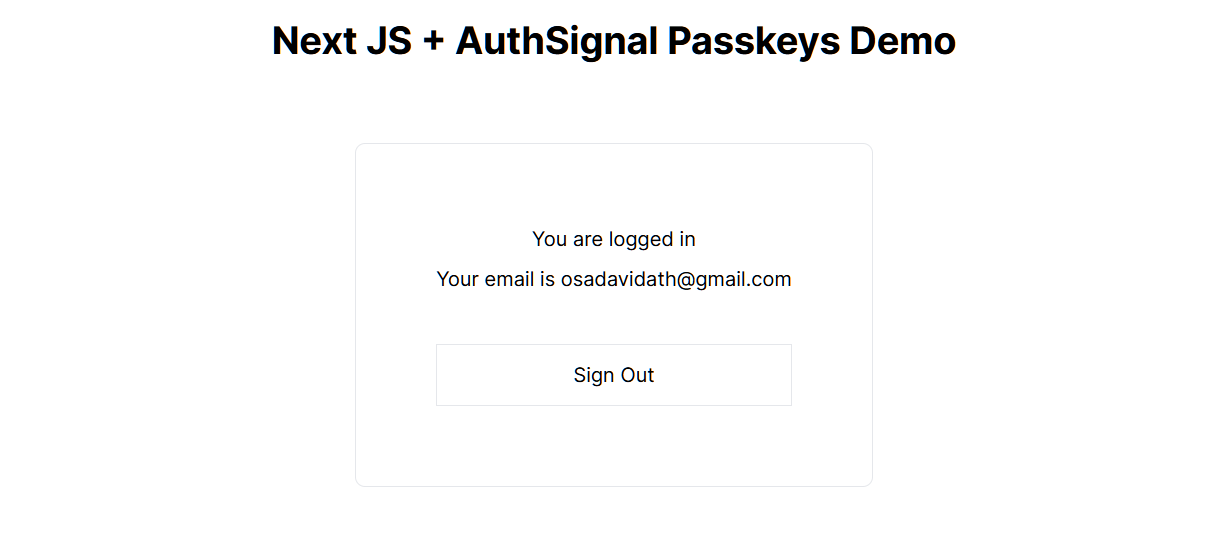
First, create a dashboard.tsx page inside the pages folder and paste the following code, then let’s go over the code line by line.
import { GetServerSideProps } from "next";
import { useRouter } from "next/router";
import { authsignal } from "@/lib/authsignal";
import jwtDecode from "jwt-decode";
import { VerificationMethod } from "@authsignal/node";
import useAuthsignalClient from "@/hooks/useAuthsignalClient";

export const getServerSideProps: GetServerSideProps = async (context) => {
  const token = context.req.cookies["auth-session"];

  if (!token) {
    return {
      redirect: {
        destination: "/",
        permanent: false,
      },
    };
  }

  const decodedToken = jwtDecode<any>(token);
  const userId = decodedToken.sub;

  if (!userId) {
    return {
      redirect: {
        destination: "/",
        permanent: false,
      },
    };
  }

  const user = await authsignal.getUser({ userId });

  return {
    props: {
      token,
      email: user.email,
      hasEnrolledPasskey: user.enrolledVerificationMethods?.includes(
        "PASSKEY" as VerificationMethod
      )!!,
    },
  };
};

const Dashboard = ({
  email,
  hasEnrolledPasskey,
  token,
}: {
  email: string;
  hasEnrolledPasskey: boolean;
  token: string;
}) => {
  const router = useRouter();

  const logOut = () => {
    document.cookie = `auth-session=; path=/; expires=Thu, 01 Jan 1970 00:00:01 GMT`;
    router.push("/");
  };

  const authSignal = useAuthsignalClient();

  return (
    <div className="p-5 font-inter flex flex-col justify-center items-center">
      <h2 className="text-center text-3xl font-bold">
        Next JS + AuthSignal Passkeys Demo
      </h2>

      <div className="border rounded-lg flex flex-col mt-16 w-fit p-16 text-center">
        <h3>You are logged in</h3>
        <p className="mt-2">Your email is {email}</p>

        {!hasEnrolledPasskey && (
          <span
            className="text-blue-600 cursor-pointer mt-5"
          >
            Save the passkey
          </span>
        )}

        <button className="border px-6 py-3 mt-10" onClick={logOut}>
          Sign Out
        </button>
      </div>
    </div>
  );
};

export default Dashboard;
We first have a getServerSideProps function on the top of the file. This function runs on the server before the page is rendered to the client. You can read more about this in the Next.JS documentation.
Inside the getServerSideProps function,
First, we read the cookie that we set before from the callback function and take it to the constant
token.If there is no token, we simply redirect the user to the home page.
If there is a token, we decode the token and take the
userIdfrom it.If there is no
userIdwhich means the token is invalid, we redirect the user to the home page.If there is a
userIdwe pass that to thegetUserfunction in authsignal and get back the user information.Then we pass some of that information back to the client ( notice the
hasEntrolledPasskeyvalue, if this is true that means the user has already configured passkeys and if that is false that means the user has not configured passkeys. You will see how this is useful in the future parts of the tutorial)
Then inside the page, we simply render the information we got from the server side including a function called logOut that would clear the cookie and redirect the user back to the home page.
Also notice that if the user hasn’t enrolled passkeys, we render a text called Save the passkey. We will implement the functionality of this in the next section of the tutorial.
Set up Passkeys Authentication with Authsignal
If you followed until now, you should have correctly configured magic links as an authentication provider. Now let’s shift our focus to implementing passkeys.
First of all, you need to create a new API route. Create a new file, name it passkey.ts inside the api folder, and paste the following code.
import { authsignal } from "@/lib/authsignal";
import { NextApiHandler } from "next";

const handler: NextApiHandler = async (req, res) => {
  const { token } = await authsignal.track({
    action: "passkey",
    userId: "",
  });

  res.status(200).json({
    token,
  });
};

export default handler;
Nothing really new here, we just track a new action called passkey and send the token we get back to the front end.
Sign up for the passkey
Now, move on to the dashboard.tsx and inside the Dashboard function, create a new function as follows.
const passkeySignUp = async () => {
  try {
    await authSignal?.passkey.signUp({
      token,
      userName: email,
    });
    location.reload();
  } catch (error) {
    console.log(error);
  }
};
What this does is sign up that user with a passkey and reload the page if it is successful, or if it was unsuccessful, we just console.log the error.
In the markup, under the onClick handler of Save the passkey element, call this function like this.
{!hasEnrolledPasskey && (
  <span
    className="text-blue-600 cursor-pointer mt-5"
    onClick={passkeySignUp}
  >
    Save the passkey
  </span>
)}
Now, if you go to the /dashboard page and click on the Save the passkey button, your browser will prompt confirm your screen lock and the passkey will be saved. When the page refreshes, the Save the passkey should disappear.
Sign in with the passkey
To implement the login side of passkeys, go to index.tsx file, make sure axios is imported and add a new function like follows.
const passkeyLogin = async () => {
  const {
    data: { token },
  } = await axios.post("/api/passkey");

  const result = await authSignal?.passkey.signIn({
    token,
  });

  if (result) {
    window.location.href = `/api/callback?token=${result}`;
    router.push("/dashboard");
  }
};
Inside this function, we first get the token from the API function we created before and call the passkey sign-in function with that token.
Then if it returns a new token, we pass that token to our callback function to complete the login.
Now if you go to the homepage and click on the Sign in with an existing passkey button, you should be able to log in with the passkey you previously saved.
Importance of Passkeys and Why Authsignal
As Google has explained here, passkeys are a very novel method of authentication and a very big step towards the passwordless future.
But it would be a very daunting task to implement passkeys on your own. This is where authentication as a service services comes in clutch. As we discussed throughout this article, you can set up passkeys to your own application in a few lines of code using Authsignal.
If you followed right until the end, now you know how to use Authsignal and more specifically how to implement passkeys without going through much trouble.
If you have any problems or if you want to take a look at the final code, you can check the GitHub repository with the completed code.
To learn more about Authsignal, visit the Authsignal documentation