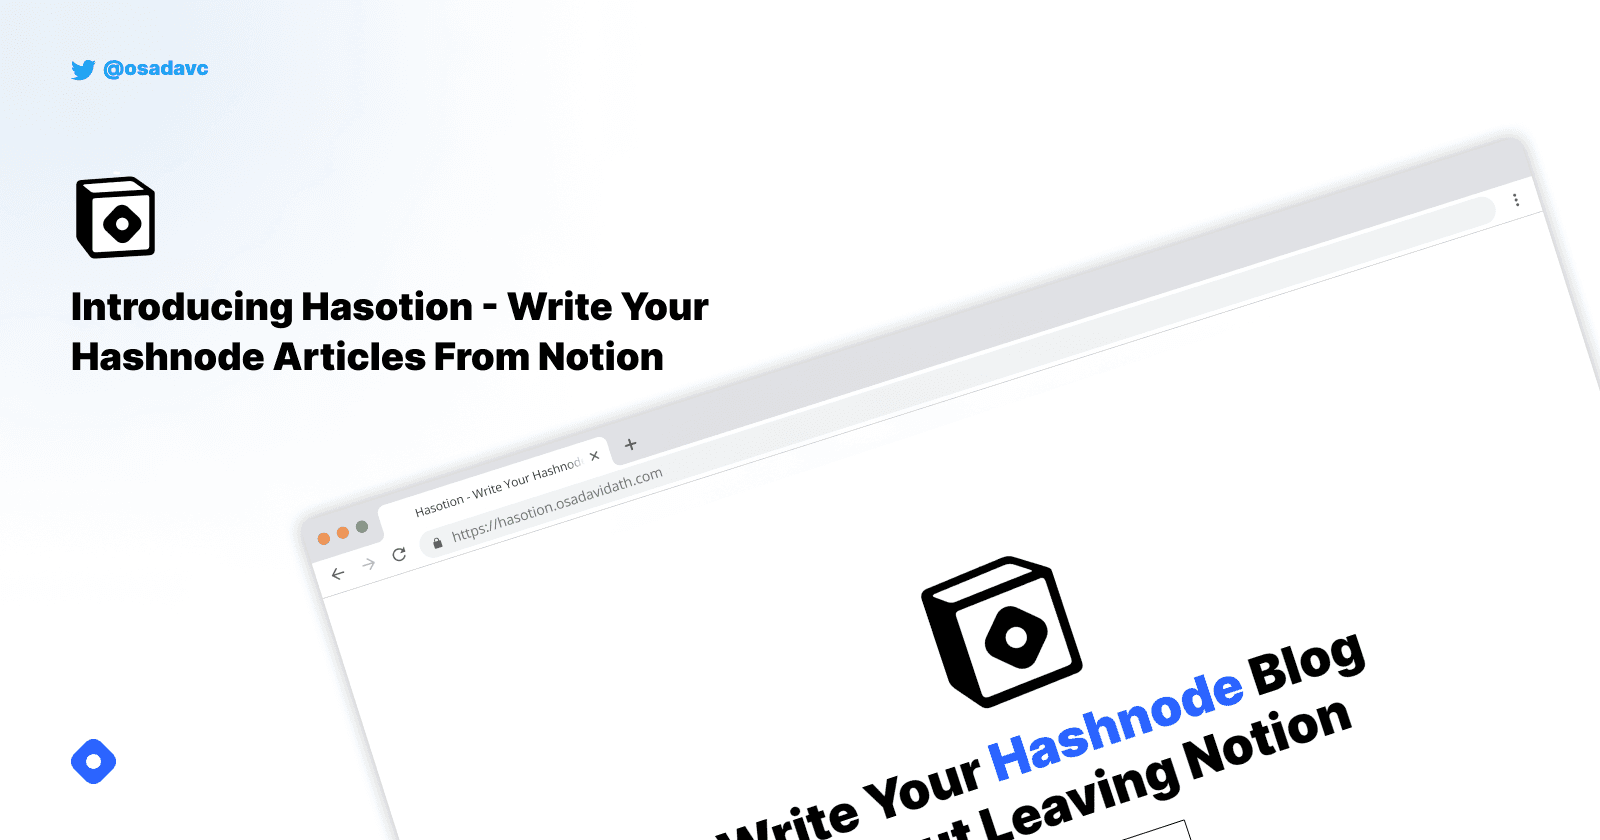
Introducing Hasotion - Write Your Hashnode Articles Without Leaving Notion
Love Hashnode ? Love Notion ? You’d love Hasotion.
10001₂ year old curious human being building stuff
Introduction 🤩
Are you someone like me who loves Hashnode as well as Notion? Well, then this article is for you. Keep reading.
When I am writing my blog posts, most of the time I am used to writing the article in Notion and copying and pasting all of the content to Hashnode or any other blogging platform I use. You might be wondering why I do that because Hashnode already has an insanely good editor for writing your blog posts.
Yes, that is indeed true but writing it on Notion helps me back up my content and really helps me with publishing the same article to multiple places.
This product is simply a result of an attempt to streamline that process even more by making use of Hashnode GraphQL APIs and Notion APIs.
Also, I think it is worth mentioning that this Hackathon was quite a challenge for me because I don’t have much GraphQL experience and the very short time period I had to complete this project.
In case you’re curious about the weird name, Hasotion is derived from Hashnode + Notion 😉
How Hasotion Works? 🤔
For you to get a rough idea, let me go over the flow of this application in a few steps and explain them. You can also take a look at the explanation video I have linked below in the Demo section.
Log in to the application with Google
Connect your Notion account and duplicate the provided database
Connect your Hashnode account by providing the Personal access token (PAT) and the Blog ID
Go to the Notion database. Write your article on a new page. Fill in all the details
Check the Ready checkbox.
Just click on the Update Article button under the title
The whole process is that simple. Before going more into the notion page details (Step 4) and technical details (Step 6), let me start by introducing my tech stack, the APIs and the interesting packages I used throughout my project.
Tech Stack ⚙️
Next JS as the Javascript framework
Tailwind CSS as the CSS framework
PostgreSQL as the Database
Prisma ORM
Next Auth for Google Auth
Hashnode API to post the articles to Hashnode blog
Notion API to read content from the Notion pages. (Used this interesting package called notion-to-md to convert notion pages to markdown easily)
Cloudinary to store the blog covers of each post.
The Hashnode API was fairly easy to use. Even though I didn’t have much experience in GraphQL I was able to get it up and running by checking out the well-composed Hashnode API documentation.
I didn’t go for an advanced GraphQL library like apollo-client but kept it pretty simple by using the graphql-request package.
The Notion Database📄
Remember you cloned a Notion database to your account when you connected the Notion account to Hasotion. In this section, I am going to go over the Notion database and explain the ins and outs of that.

The database is pretty simple with just 6 columns that you need to interact with. The first five columns are pretty much self-explanatory if you have ever used Hashnode but I will go through each of them briefly.
Title - Your blog article's title
Slug - The ending part of the URL (If kept empty, it will automatically be generated from the Title)
Subtitle - The subtitle of your blog article
Cover Image - The image that will be displayed alongside your blog post in Hashnode
Tags - The article tags (must be comma-separated to work correctly)
Then you have the final column which is Ready (No. 2)*, when you're done with writing your article and finally ready to publish the article, you check the ready box respective to the article and click on the **Update Articles (No. 1)* button below the title. That will trigger an article update.
The next section will explain what will happen behind the scenes once the update is triggered.
The Main Functionality - Posting Articles 📤
In this section, I will go over how the updating/posting article happens in the backend.
Firstly when you click on the Update Article button, a Next.JS API route will be triggered. You can find that particular API route with comments explaining each step here.
Inside that API route,
It first checks if the user is properly authenticated and if all the API tokens and stuff are configured.
The ID of the database you cloned in the earlier step in obtained via Notion API. We can just do a search and get the first result because according to Notion login, our integration should only have access to one database.
 const { results: notionResult } = await notion.search({
   page_size: 1,
   filter: {
     property: "object",
     value: "database",
   },
 });

 const databaseId = notionResult[0].id;
Then the database is searched to retrieve all the pages (aka. posts) with Ready being true. A sort is also done to help choose the latest article
 const { results: databaseItems } = await notion.databases.query({
   database_id: databaseId,
   sorts: [
     {
       timestamp: "last_edited_time",
       direction: "descending",
     },
   ],
   filter: {
     property: "Ready",
     checkbox: {
       equals: true,
     },
   },
 });
Then the content of that particular page is converted to Markdown by using the NPM package I mentioned earlier.
 const notionString = n2m.toMarkdownString(
   await n2m.pageToMarkdown(savingItem.id)
 );
Then, the data we obtained from the Notion page is fed into the Hashnode API with the GraphQL client.
 const data = await gqlClient.request(publishNewPostQuery, {
   input: {
     title,
     subtitle,
     publicationId: loggedInUser.hashnodePublicationId,
     contentMarkdown: notionString.parent,
     slug,
     tags,
     coverImageOptions: {
       coverImageURL,
     },
   },
 });
Finally, we uncheck all the posts in the Notion database for future purposes and save the published Hashnode article ID to the Notion database. The article ID is saved to the Notion database because it is needed to update the article in future.
 databaseItems.forEach(async (item) => {
   await notion.pages.update({
     page_id: item.id,
     properties: {
       Ready: {
         checkbox: false,
       },
     },
   });
 });

 await notion.pages.update({
   page_id: savingItem.id,
   properties: {
     "Hashnode Post ID": {
       rich_text: [
         {
           text: { content: data.publishPost.post.id.toString() },
         },
       ],
     },
   },
 });
Finally, to wrap everything up, the user is redirected to a page that displays the article title and the link
 return res.redirect(
   `/notion?title=${title}&url=${
     data?.publishPost?.post.url || data?.updatePost?.post.url
   }`
 );
That’s a rough technical explanation of the whole process.
Struggles 😶
First and foremost with the short duration of the hackathon, I couldn’t waste time on the design. So I had to whip up a quick and simple landing page. Despite it being really simple, I think it does a good job at conveying the message to the user.
I also had some problems with getting the Hashnode API working but managed to solve them easily by referring to the Hashnode Public API Docs.
The final and most crucial challenge was the mechanism used to update posts on Hashnode after editing them on Notion. There is no Notion button or Notion webhook feature to make this process a lot simpler. So I had the idea to create a Chrome extension as I did in one of my earlier projects but doing that will add a barrier of entry to users. So I gave up on that and finally settled on adding a little link that updates the latest article that you wrote on Notion.
Video Demo 📽️
Here is a video showing how to get started with Hasotion in less than 5 minutes.
Conclusion 🏁
Feel free to actually use Hasotion for your day-to-day needs because I plan to keep this project up and running forever for completely free and add more and more features down the line.
Also with the limited time I had, my goal was to make an application that does one single thing but that single thing at its best! I personally feel like I was able to stay up to my goals.
Finally, I thank Hashnode for this amazing opportunity to build something with Hashnode’s brand-new set of APIs.
Final Note 📝
If you’re curious, yes this article is written and posted completely by using Hasotion. Feel free to take a look at my Notion document.
⚠️ This is currently hosted on Render. So expect some cold-boots.
Links 🔗
Thank you so much for reading this article. Hope you enjoyed it. Let me know your ideas by leaving a comment below.