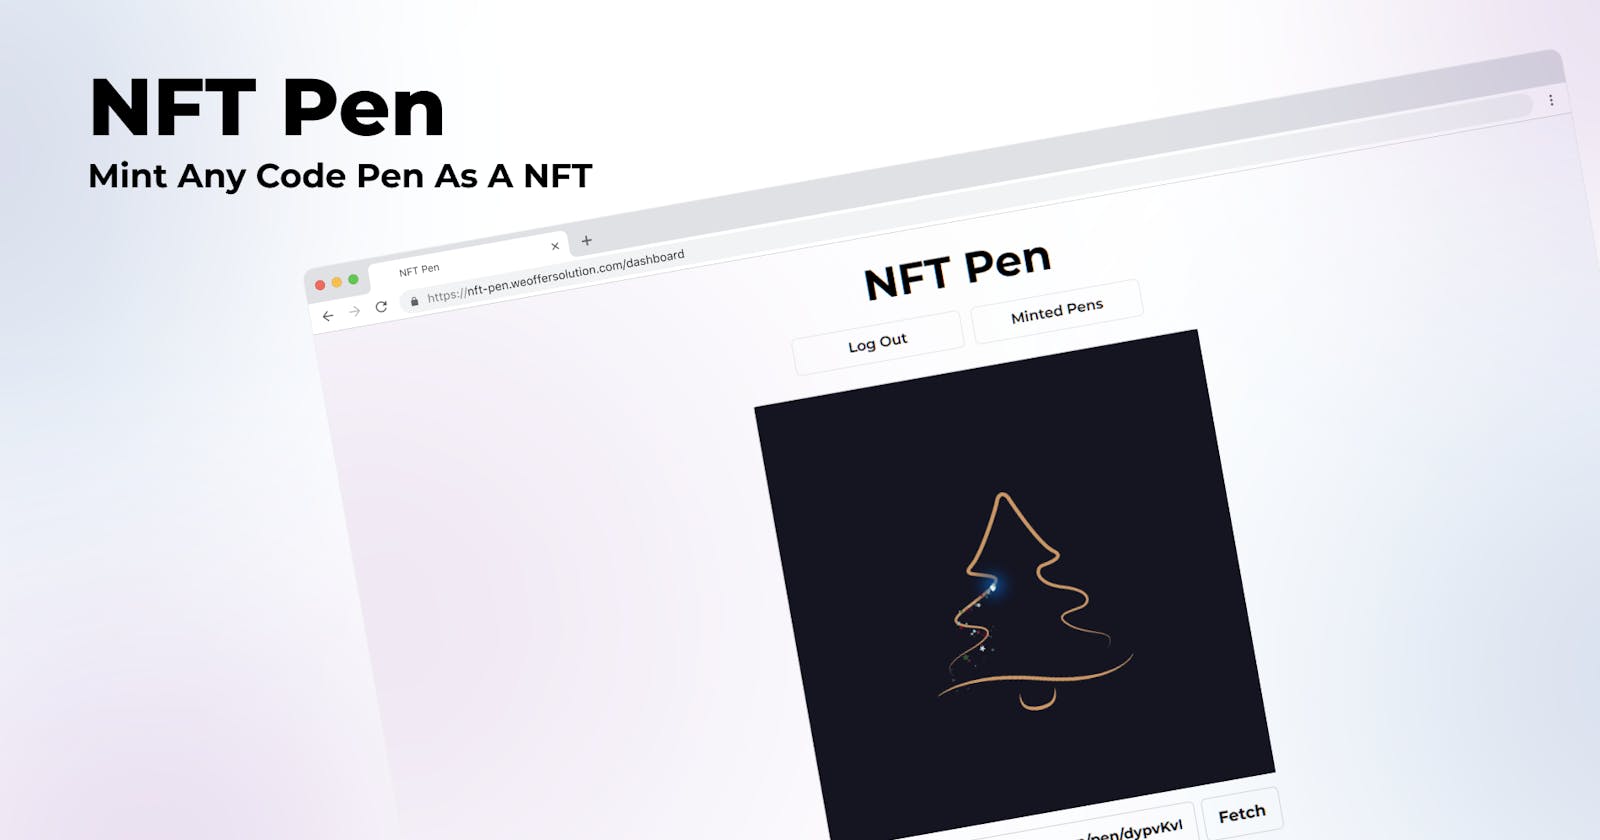
How I Build NFT Pen The Platform To Mint Interactive NFTs 🖊️
The New Era Of NFTs
Introduction 🤩
Hey folks 👋🏻,
Here I am once again with my submission for Hasura X Hashnode. Even though I got to know about the hackathon on the first day of the month, due to an exam I couldn't even touch it for the first two weeks. Anyways I started to build something at the end of the second week. Also, this was very challenging for me because I haven't ever used many technologies that I used to build this. I had to completely learn GraphQL, Hasura, Solidity from the very beginning and it was actually awesome!
Introducing NFT Pen 🖊️
So the idea behind NFT Pen is to allow people to mint interactive NFTs with ease instead of the boring image NFTs. The first inspiration for this was from this NFT game called Punks Vs Apes. If you take a look at one of their NFTs, you will see that there are interactive, that is not just an image. It is a fully functional but simple web page.
What NFT Pen Does 🤔
First, you have to feed NFT Pen a codepen link. Then NFT Pen will scrape that, get all the information and mint a proper interactive NFT. You will see more about this process in the demo section.
Tech Stack ⚙️
Talking of the tech stack that I used, I used all my day to day stuff and some additions
- Next JS
- Tailwind CSS
- Hasura
- Solidity
For authentication, I used NextAuth.js as always and for deployment, I had to use Heroku, to know more about why I used Heroku see the struggles section.
Demo 🪧
Now I will walk you through the whole application, show you how it works and give you an idea about how NFT Pen really works.
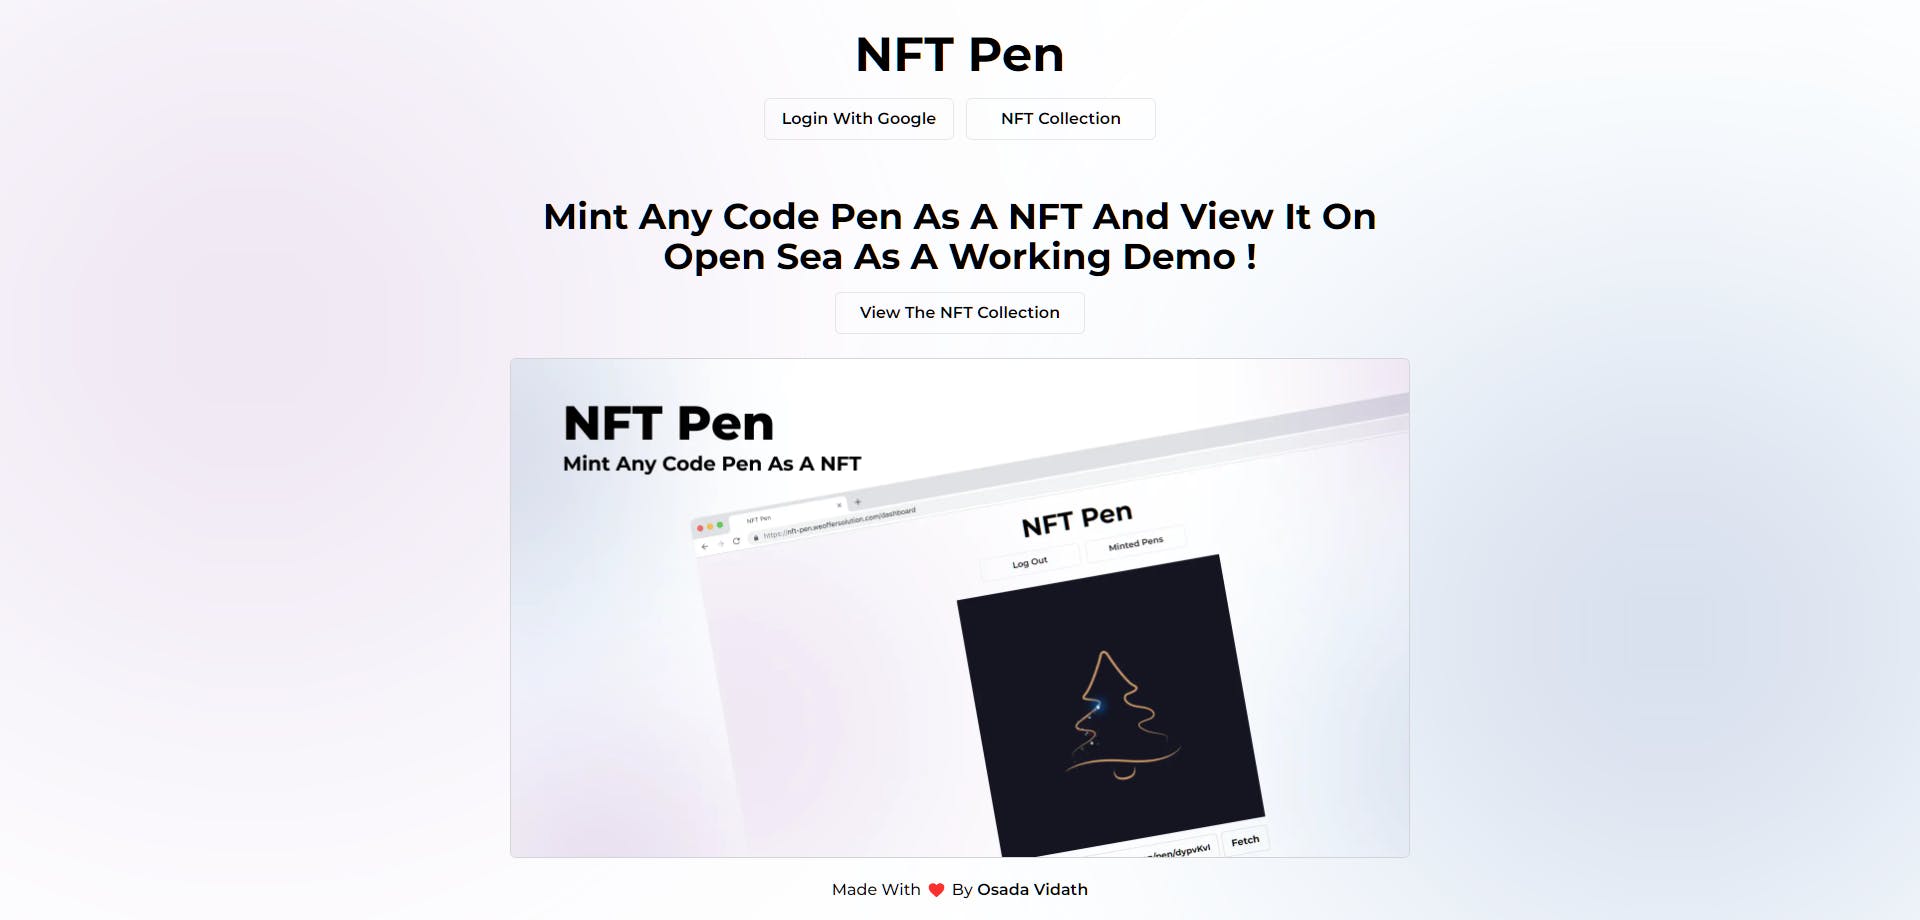
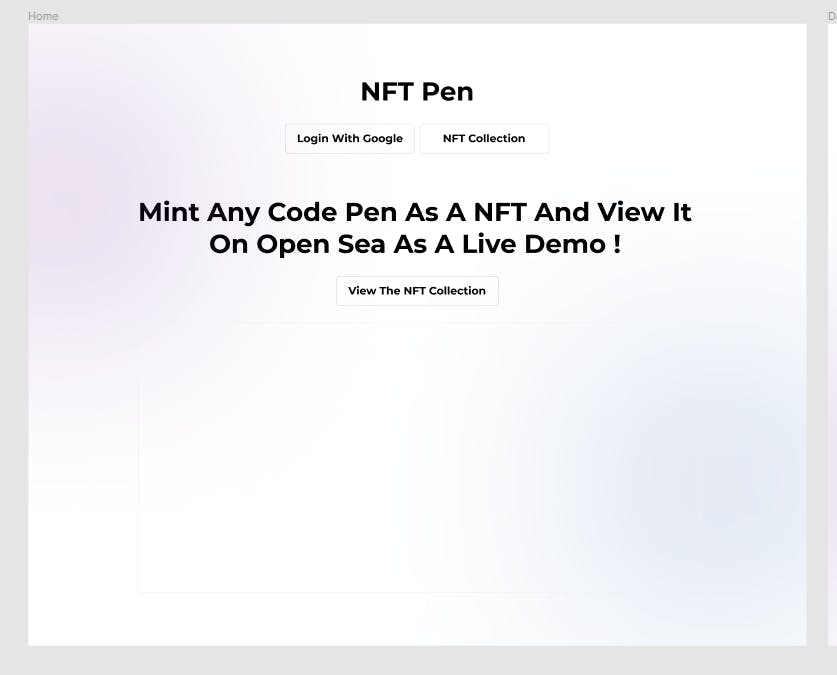
First, we have a modern home page like this. This time I followed a proper workflow. Instead of jumping straight into the code. I first designed it roughly and start to code it. I think it really improved the final output.
Here is what I designed with Figma.
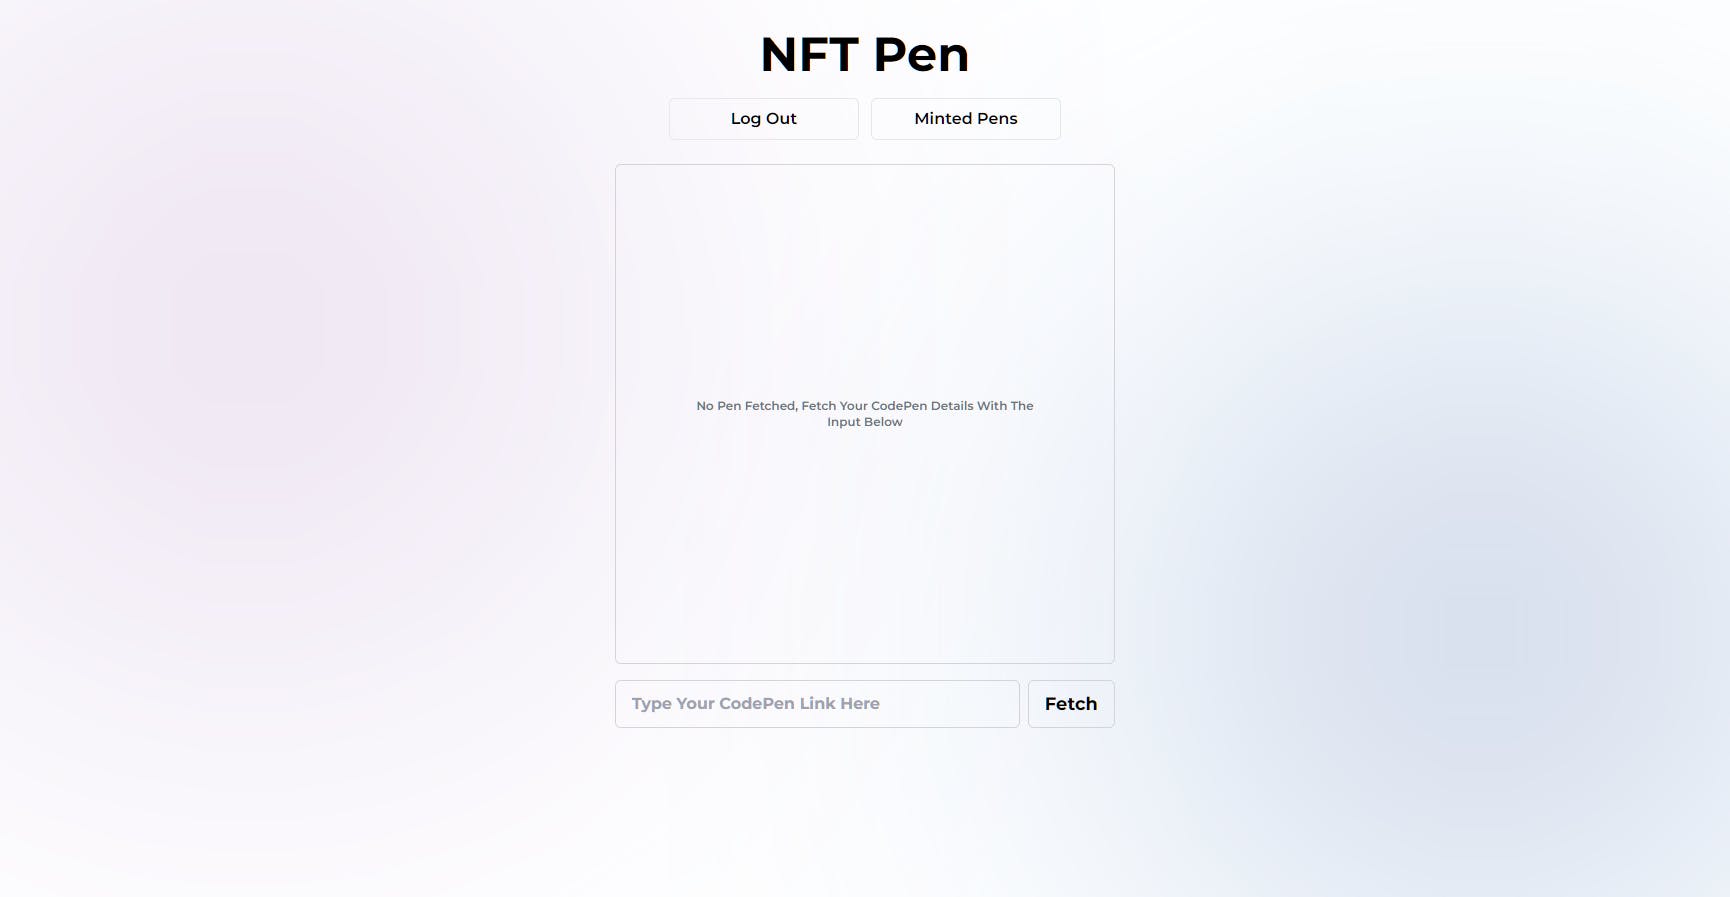
You can click on the Login With Google button to authenticate NFT Pen with your google account. I decided to use Google OAuth even I don't need to access any Google APIs because it is kind of a hassle to log in by typing emails and passwords.
Once you properly logged in you will see a popup to authenticate with metamask. This will be beneficial when you are gonna mint your own NFTs. After going through all that, you will see a screen like this.
Minting The NFT 🦄
Before you start minting the NFT, you need to prepare the code that you are gonna mint. For that, you need to create a codepen. You can create your own codepen or you can use a public codepen that is available. For this example, I am gonna use this codepen. And don't forget, Javascript is also working inside the NFT if you have JavaScript 🤯. Also, this will be really cool if you are gonna mint CSS arts.
But there are few constraints with the codepen. Make sure to pay attention to them as well.
- Make sure it is responsive for the size 500px by 500px otherwise your NFT will not look so good.
- Make your codepen public
- If you are minting a CSS art it is better if you can avoid scrollbars at 500px by 500px size.
Awesome, now we have our codepen ready to go. Now what you have to ultimately do is go to NFT Pen and paste your codepen link in the input box. and click on the Fetch button. Make sure to keep your URL exactly in this format https://codepen.io/osadavc/pen/MWrvbrw. Otherwise, it'll not be able to mint the NFT properly. Once you clicked on the fetch button you will see the preview of your codepen like this. And you can see the JavaScript is working exactly as it should work 🚀.
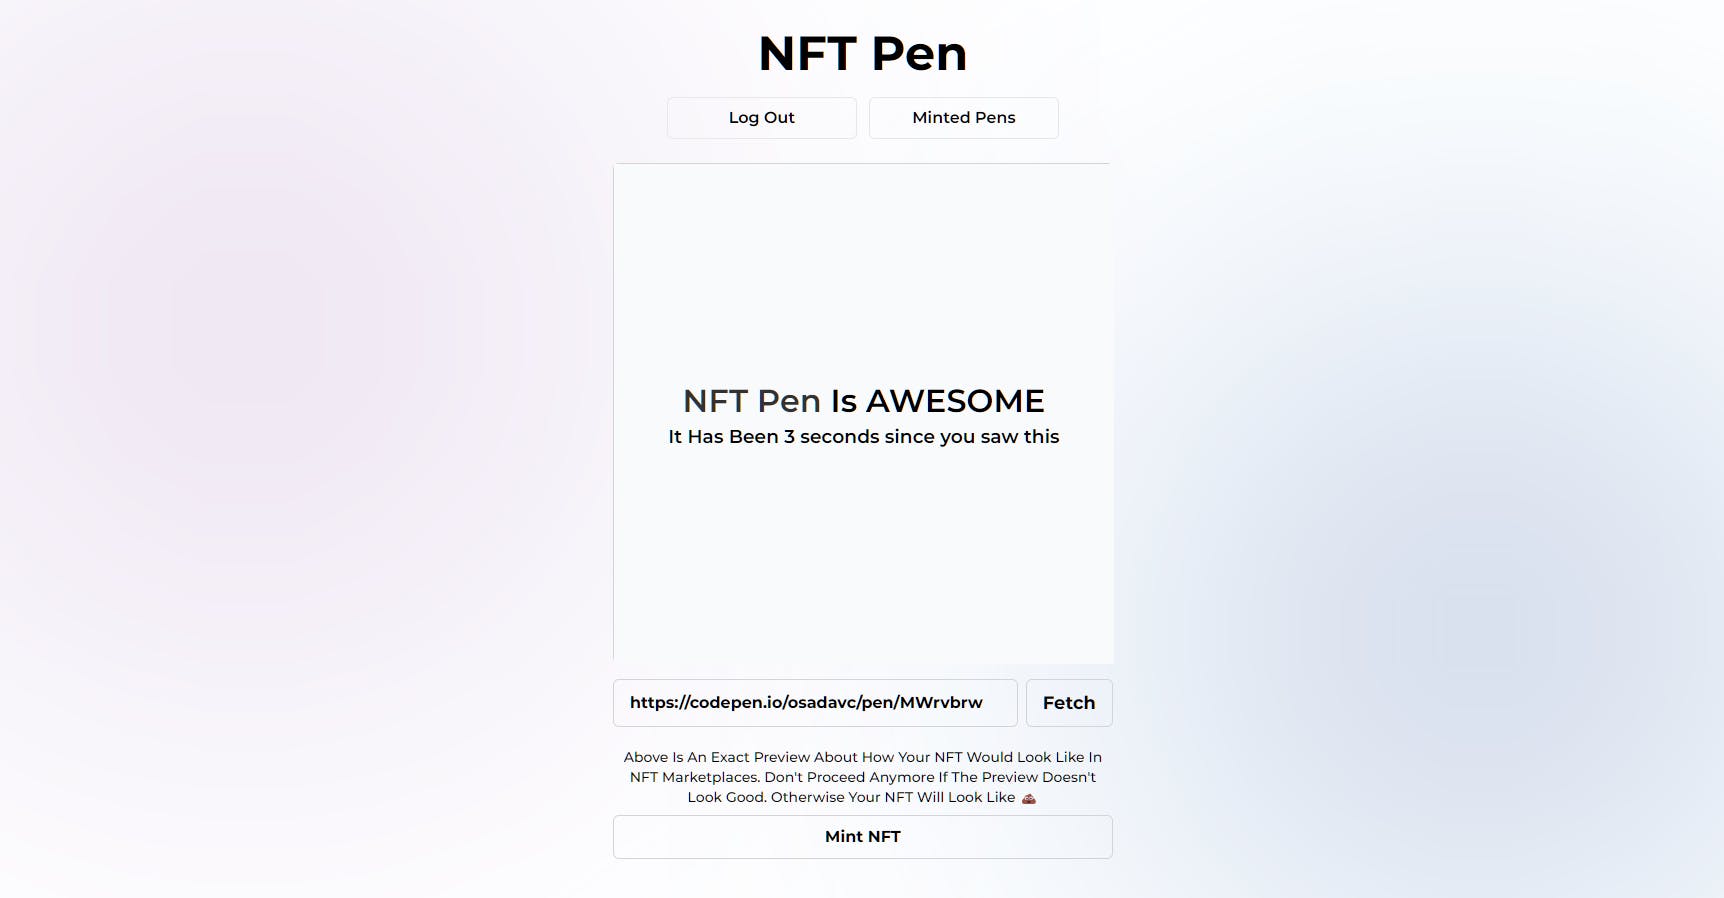
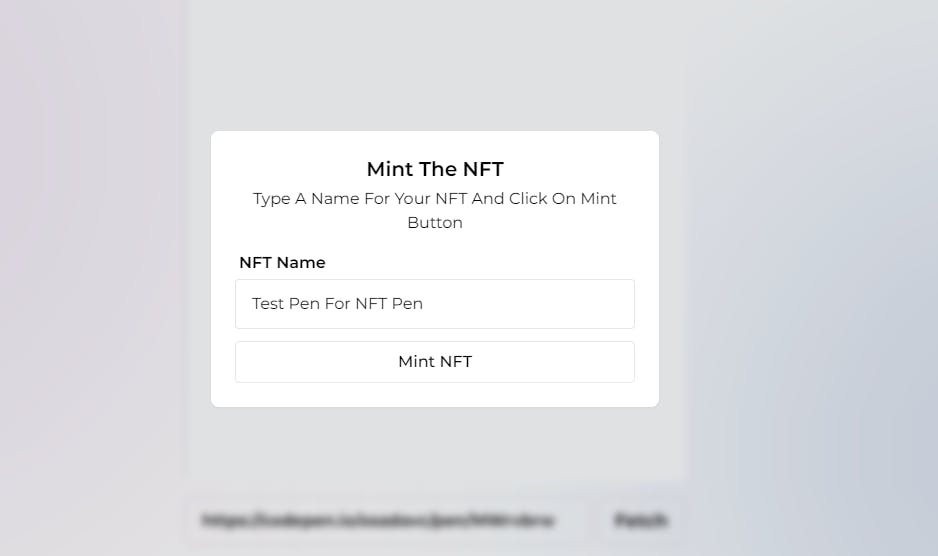
Now just click on the Mint NFT button and give a name for your NFT, then you can click on the Mint NFT button on the popup.
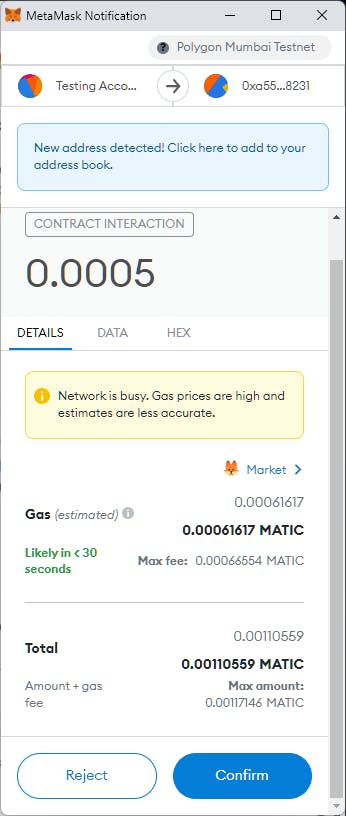
And you can see it goes through a series of stuff and finally metamask popup will be opened. You can click on Confirm button to start the mint (Make sure you have a bit of test matic in your wallet of the Mumbai Polygon network, I added a little minting fee just for fun, it won't be an issue since this is in a test network)
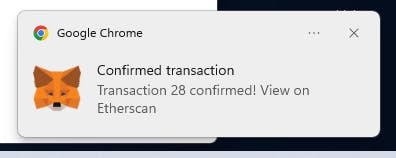
In a few seconds, your transaction will be completed. After that, you will see that the popup says the mint is completed.
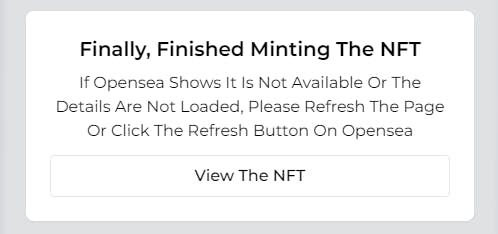
Now just click on that View The NFT Button and Voila, here is your freshly minted interactive NFT.
If in any case, opensea says that the NFT is not loaded or something just click the refresh button in opensea and wait for a few minutes.

If you go to the opensea page, you will see the NFT with the JavaScript working 🎉.
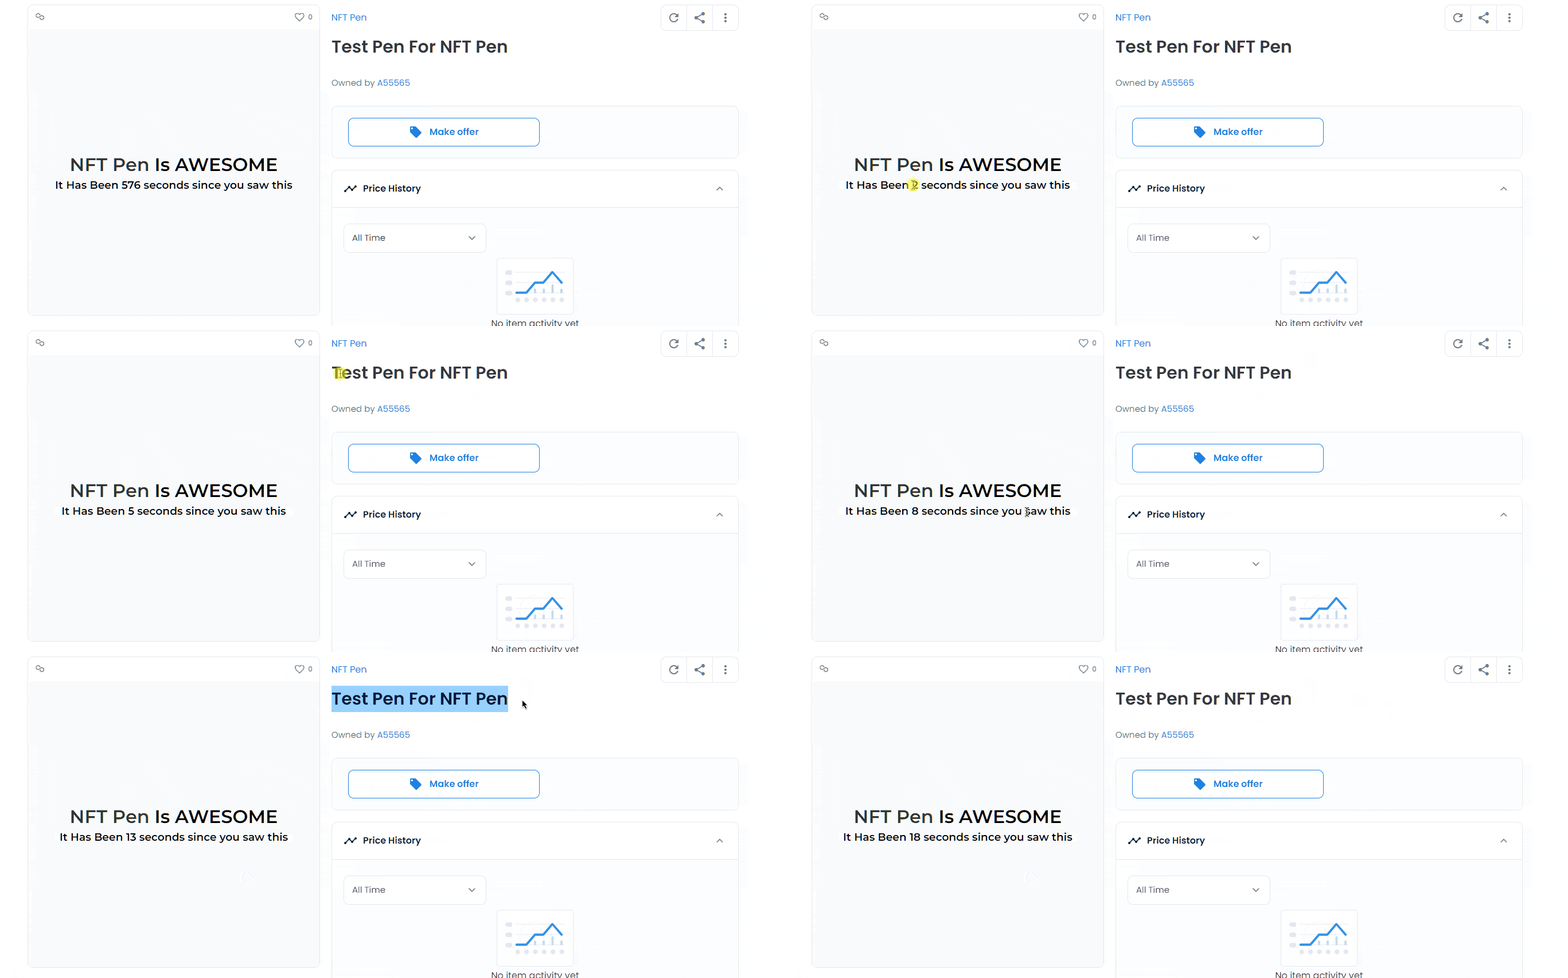
And one more thing, you can see all of your previously minted NFTs, if you click the Minted Pens button.
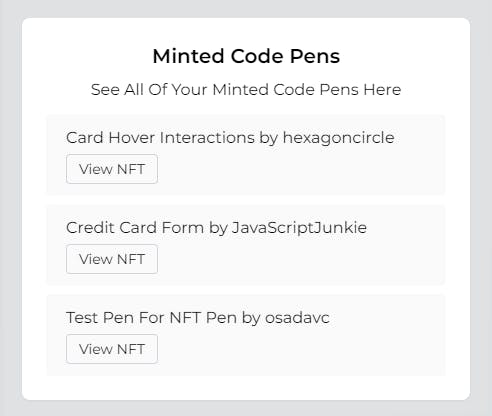
Role of Hasura 🙃
I am managing all user data and minted NFT data with Hasura and must say as someone who has never used GraphQL before, Hasura and GraphQL are awesome. Especially because of the DX. Automatic type generation is probably one of the best things and with the eco-system around it, the DX is even better. With Apollo client, I could get an experience that I could never get with REST Apis.
Linting & Code Quality 🧑🏻💻
This time I thought about it a bit more, in addition to ESLint and Prettier, I tried to keep my commits consistent with emojis. And I think that actually looks cool! I will probably do that in every new project of mine.
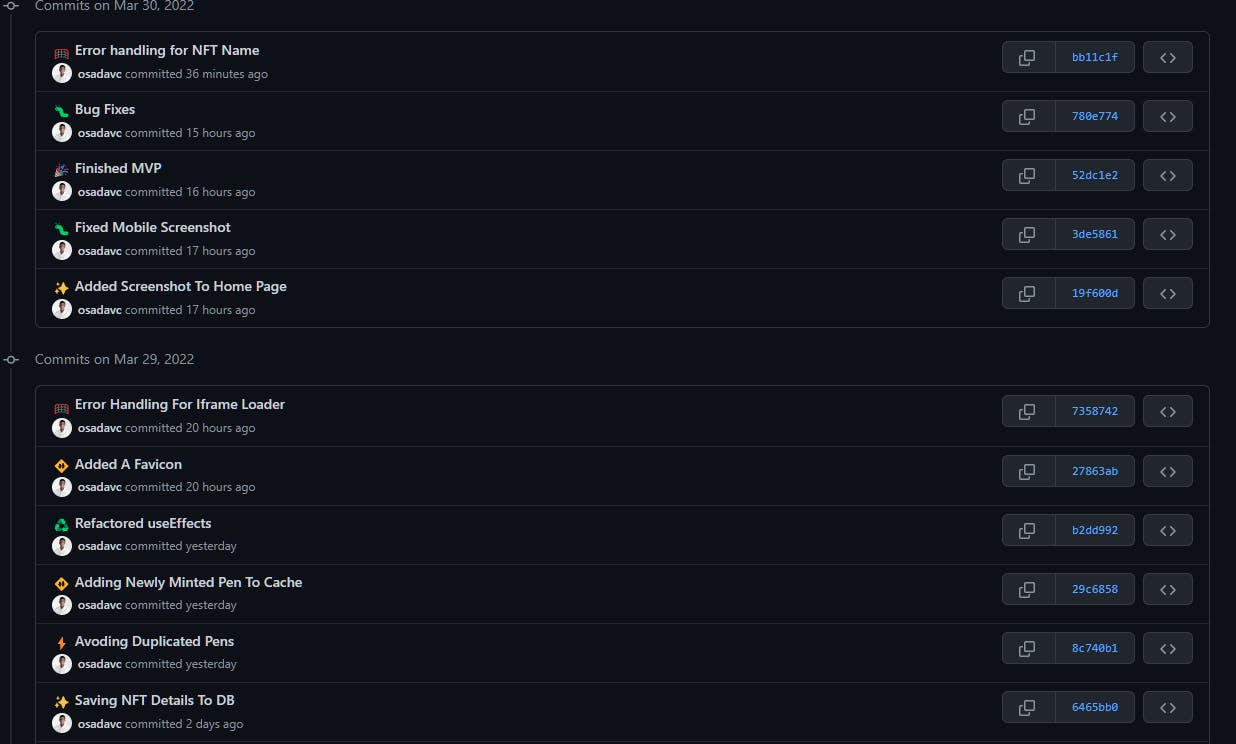
Struggles 😶
There were not many struggles that I had to go through while building this but I faced a major issue with the deployment. With vercel and netlify I couldn't deploy it because they have a timeout in their free plans. It took a while to upload all those stuff to IPFS and take a screenshot with puppeteer. So I had to use Heroku, it is fine but the problem is with Heroku putting the app to sleep every 30 minutes. Really sorry if you are experiencing a little high load times.
Future Plans🔮
If people start loving this app and the idea, I am planning to add an in-app NFT builder to easily mint interactive NFTs 🙌🏻.
Important Links 🔗
Finally, Thank You Hasura and Hashnode for hosting the hackathon. Learnt a load of new tech and enjoyed them very much. Looking forward to seeing your comments about NFT Pen.

